Keeping your engine’s oil at the correct level is one of the most important things that you need to do in order to ensure that your engine doesn’t suffer from premature part failures. You should look up how regularly your oil needs to be checked in your car’s service manual, although as a rough guide we’d suggest that you change it every 3,000 miles. Do not wait until you see the red oil check light on your dashboard, as by this time
you may have already done considerable damage to your engine, which may be expensive to repair. Some people like to check their oil once a fortnight or once a month, and by committing to regular checks you can get a feel for how quickly your car’s engine starts to run low.
Table of contents:
1.) Get Ready to Check Oil
In order to check your car’s oil you’ll need to park it on as flat a piece of ground as possible. This is to ensure that the oil is not tipped into either end of the vehicle. As with all engine work you’ll need to make sure that the car’s engine is turned off and the keys are out of the ignition before embarking on this procedure
2.) Find Dipstick
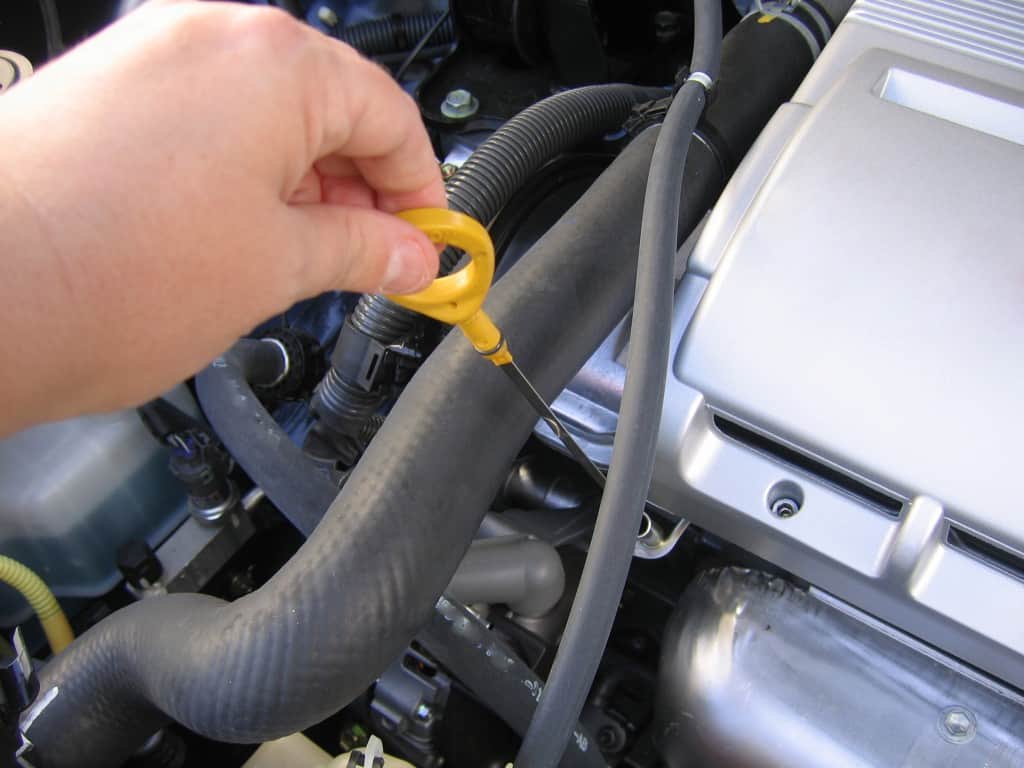
Open the car’s front hood and look at the engine. You should be able to quickly locate a metal loop sticking out of the end of a metal stalk. This is your car’s dipstick, and you use the loop to gently pull the stick, which is like a long, thin piece of metal out of the stalk-shaped holder. If you cannot for some reason find this part, then we’d suggest you look in your owner’s manual for more information.
3.) Clean Dipstick
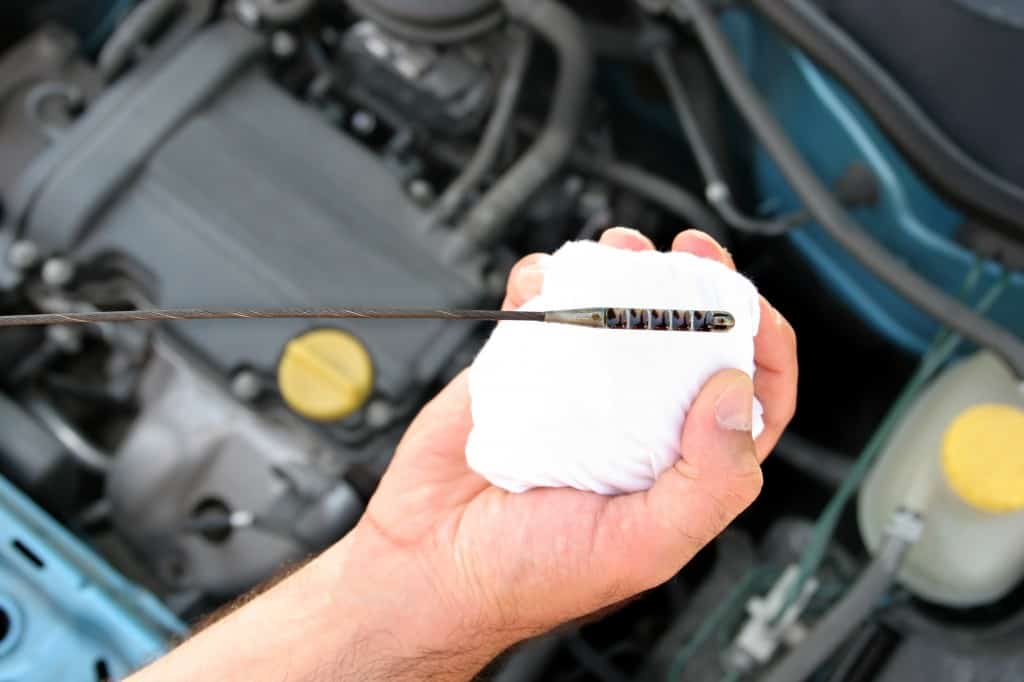
Pull the dipstick out of the holder and use a piece of rag or a thick paper towel to clean the length of the part. The reason for doing this is that during transit oil may have splashed up the stick, giving you an incorrect oil reading. Once you’ve cleaned the dipstick, reinsert it into the metal holder and wait for a few seconds before pulling it out again.
4.) Check Oil
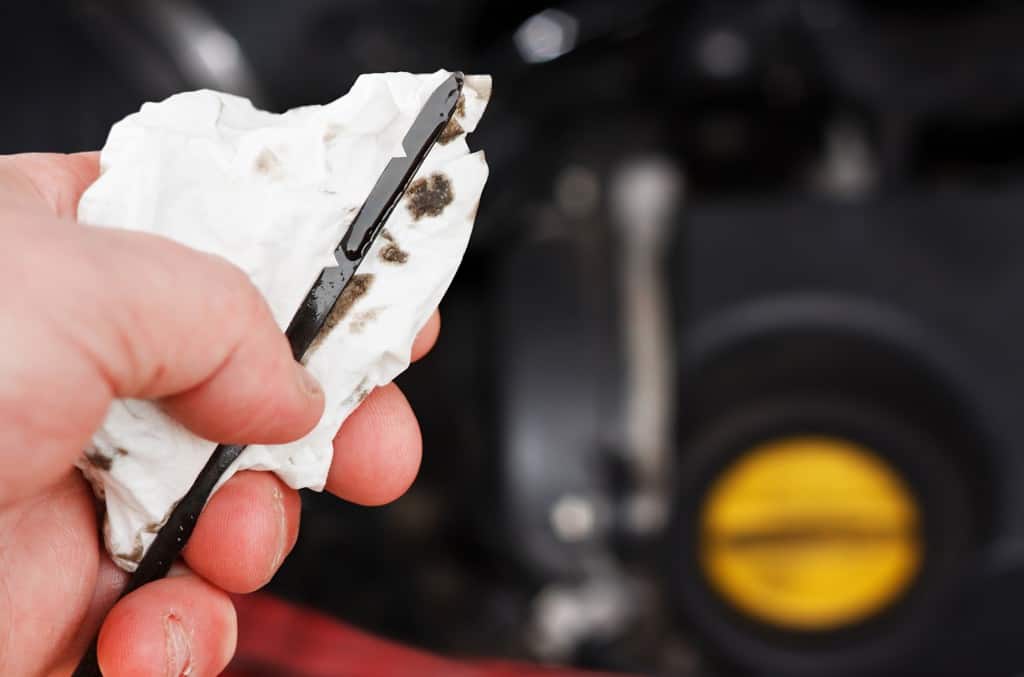
Look at the dipstick and take note of the high oil mark that appears on the it. There should be two ingrained notches that indicate the parameters (the high point and the low point) of where your oil level should be. If the oil doesn’t reach the required level, then you’ll need to to add more oil to the engine. Take care however as this is not done through the dipstick, but through the oil cap on the top of the engine. A pro tip here is to check the quality of the oil too – if you’re looking at small grains or lumps in the liquid, then it may be time for a complete change of oil.
5.) Which Oil To Use?
There are now many different grades of oil available to the modern car consumer. It’s always best to check with your service manual to see which kind of oil is recommended for your car. However, if you can’t access such information, then many oil-producing companies now offer websites where you can search by model, or even put in your car’s registration, to see which grade of oil they recommend for your car. Not all oil is the same, some needs changing more often, some synthetic oils are better for older engines or engines that are operating in the cold. One of the best places on the net is the Mobil site, which takes into account all these factors and recommends the best product for your situation. Also be aware that oil has a shelf life of between 1 – 3 years depending on its type, so make sure you check that your oil is still in date, or it may not provide your engine with the adequate protection.
6.) Add Oil
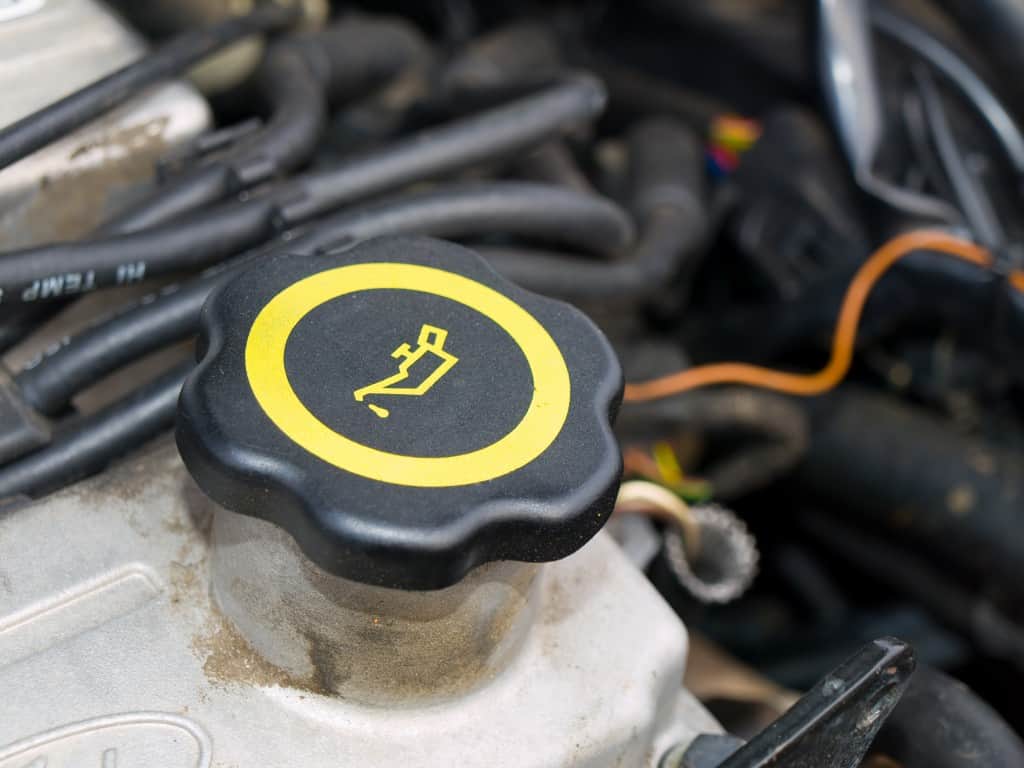
In order to add oil to your car you’ll need to find the engine’s oil cap. Remove this and add around one litre of oil into the engine.
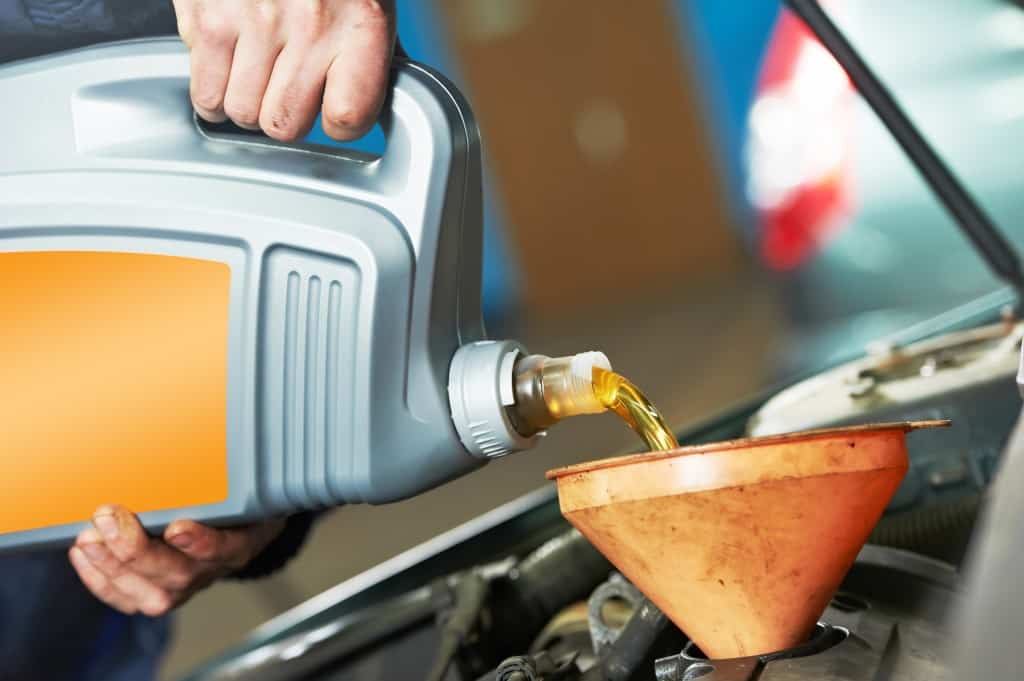
This can be poured straight into the opening, or you can use a funnel, but it doesn’t matter if you spill any oil in the engine as this substance is a lubricant and is non-flammable under normal conditions. Once you have added the oil to the engine, reattach the cap and make sure that it is secured tightly in place.
7.) Recheck Oil
Finally, when you’ve finished adding oil back into the engine, it’s time to re-check the oil level. Perform steps 3 and 4 again to make sure that the level of oil on the dipstick is between the required markers. If it is still too low then add oil to the engine once more as in step 5.
Read next: Is your vehicle’s oil sump failing? Here’s how to spot the signs >


.png "Plant trees in BreakerLinks forest")