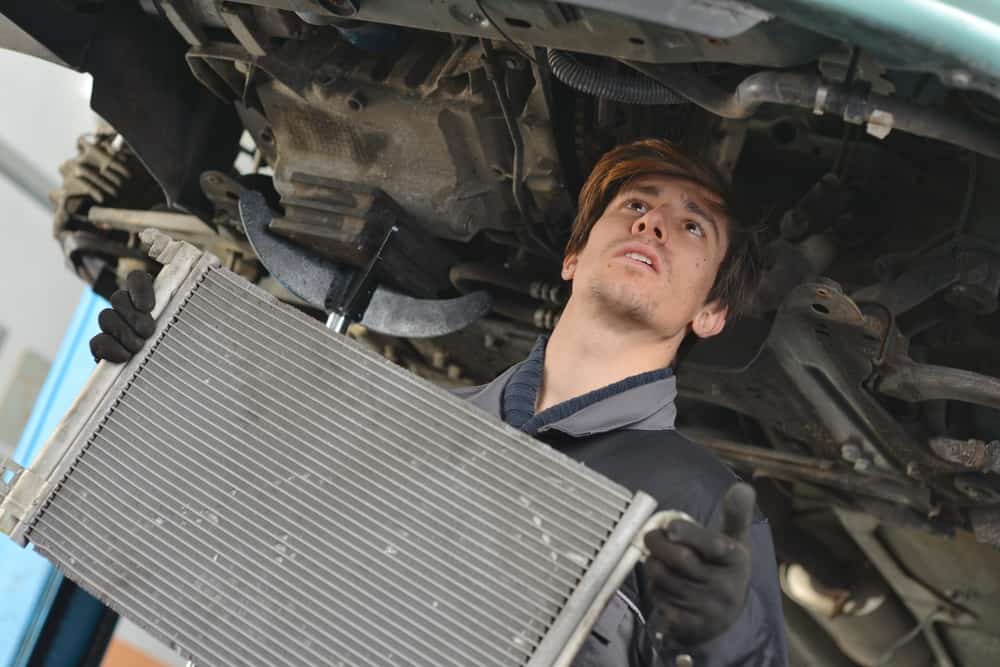
Your car’s radiator keeps the engine at the correct working temperature by dissipating heat that is generated by the internal combustion process. The radiator circulates coolant throughout the engine block, where it becomes heated, before returning it to the radiator where it cools down with exposure to the atmosphere.
If your radiator stops working properly, then this could lead to some severe problems with your engine over-heating and could even cause a fire under your bonnet. It is therefore imperative that you check out your radiator for problems the moment you think you are experiencing a fault with the part.
The First Indications of Trouble
What are the signs that your car’s radiator could be in trouble? One of the surest is a sweet smell whilst driving your car, which is created by the evaporation of the liquid coolant that is used in the radiator. This smell indicates that there could well be a fissure or crack within the body of your radiator. Unfortunately this part cannot be repaired, making it necessary to replace the part if you do find any cracks or breaks in the unit.
Hoses and Clips
Before you replace your radiator, the first step is to check the hoses and clips. It could be that one of these has deteriorated and is thus causing a fluid leak within the engine. Inspect all the hose pipes for cracks or fatigue and look at the clips for signs of corrosion. These parts can be repaired relatively cheaply. If you find that the fault is within the radiator itself however, then you may want to make a detailed drawing of how these hoses and clips are attached to the radiator, which will make their reattachment easier following the replacement process. Many automatic transmission cars also use the radiator to cool transmission fluid, so take care when removing these pipes to use a bucket or tray to collect any excess fluid that is still within the system.
Remove the Fan and Battery Connections
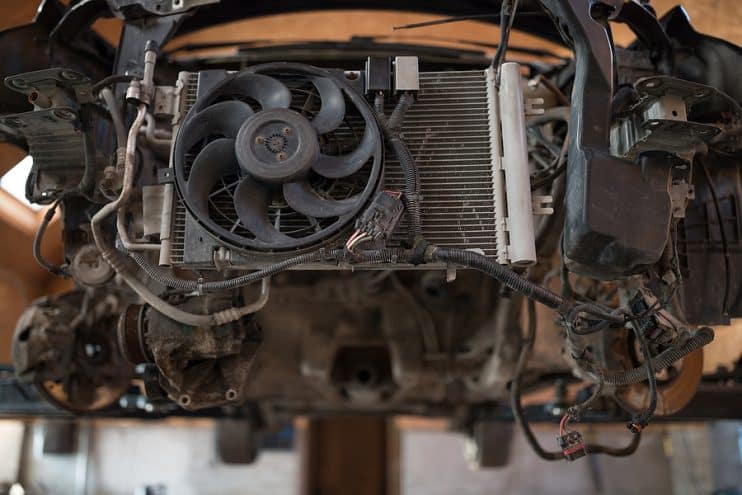
The next stage in the process it to look at the fan. This will either be removable or bolted to the unit. More information on this should be provided in your owner’s manual. If you can remove the fan, then take this off the radiator together with the splash shield if your vehicle has one. It is also important to take the battery connections off the radiator before you start to drain its coolant.
Drain the Radiator
When replacing your car’s radiator you will need to completely drain it. Find the plug, which is usually located at the bottom of the radiator, and position a bucket so that it will catch the fluid left as it empties. Carefully remove the plug and allow the fluid to drain into the bucket. If the fluid left within the radiator is not flowing out, then gently poke a piece of wire into the plug hole or loosen a tap, which should help the fluid flow from the part.
Remove and Replace
After removing the pipes from the radiator, secure them with a small plastic bag and a rubber band. This will prevent any dirt getting into your car’s coolant system. Remove the radiator from its seating by unscrewing the bolts that hold the part in place. This should be a quick and easy process. Then gently slide the radiator out. It may be the case that there are certain bolts that are hidden from view at the bottom of the unit. In particularly tricky cases consult your owner’s manual for more details on removing the part. Then slide the replacement radiator into the correct position and secure it. Replace the pipes and fill the part with coolant. You should now test the coolant system by running your car and inspecting the clips and hoses for any further leakage when the engine is off. If all signs are clear then the replacement has been successful and your car is good to go.



.png)