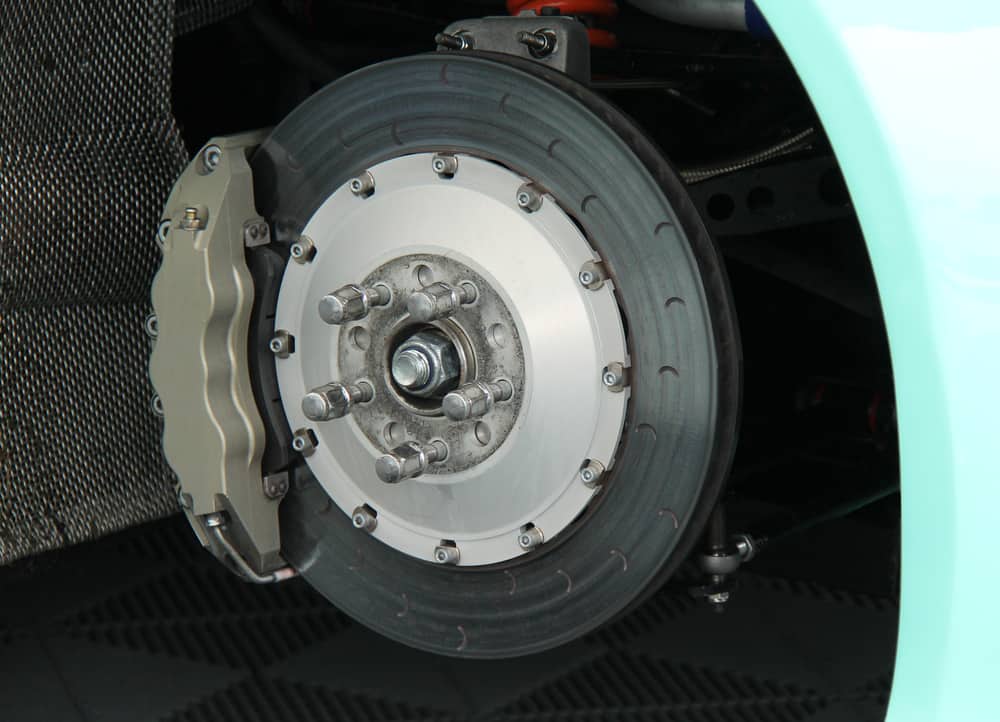
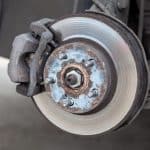
Brake callipers are the assemblies on your wheel that apply pressure to the spinning disc brake. Due to the high levels of heat and friction created in the arrangement these parts are especially prone to fatigue and wear. Your owner’s manual should provide you with a service window that tells you when these parts should be approaching the end of their lifespan and will need checking and replacing.
Fortunately changing your brake callipers is a fairly simple task that can be completed by someone with a modicum of mechanical knowledge. It is very important that you give yourself the right amount of time to fully drain the system of brake fluid.
You will need: spanners, brake turning tool, socket set, jack, pliers and brake pads.
Removal of the Old Calliper
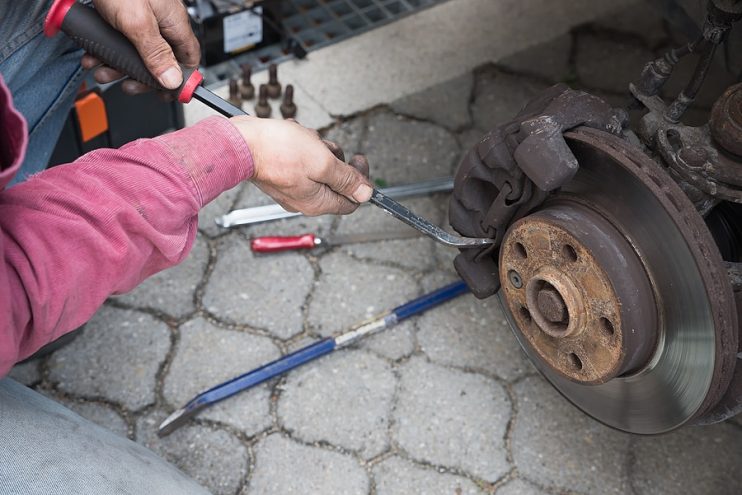
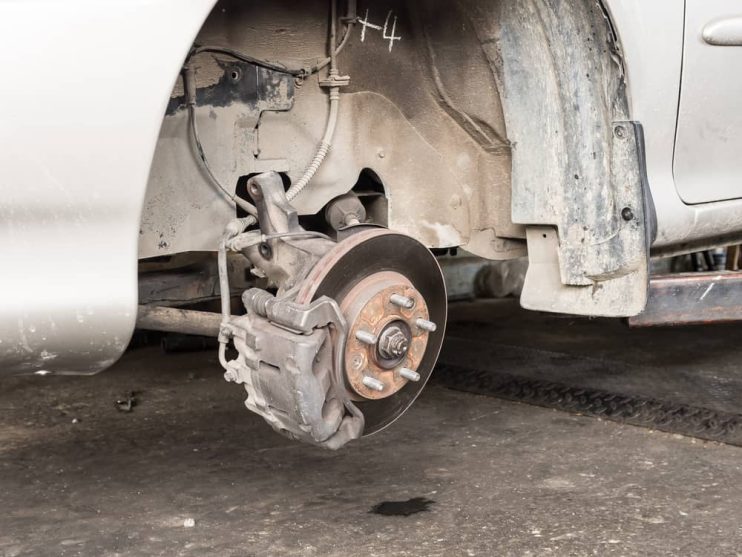
Before you jack up the car to get to the wheel with the faulty calliper, first of all loosen the wheel nuts. This will make it easier to remove the wheel when you have jacked up the car to allow yourself easy access to the calliper. Raise your vehicle as if you’re going to change a tyre and then remove the wheel. Next locate the calliper and remove the fluid line and place the end into a bowl or receptacle, allowing the fluid to safely drain. The final part of this step is removing all the mounting bolts and components that hold the calliper in place.

Prepare the Callipers and Piston for the New Install
Next you’ll need to use the brake turning tool to compress the piston on the new calliper so it is in the right position when you fix it to the car. Ensure that the piston is fully compressed and that you cannot physically turn the tool any further. When you are satisfied that the piston is at its maximum compression attach the brake line, but do not firmly tighten it in place.
Fit New Pads and Install the Calliper
You should always take the time to replace the existing brake pads with new pads on the new calliper. Do not re-use the existing pads. Once these are in place, oil all the bolts and fixings that hold the callipers in place and put the replacement brake callipers back on the assembly and tighten the bolts that hold it in place. When you have finished attaching it back to the vehicle it is now time to check the alignment of the brake hose, making sure it is not in the way of any moving part before finally tightening it in place.
Bleed the Brakes
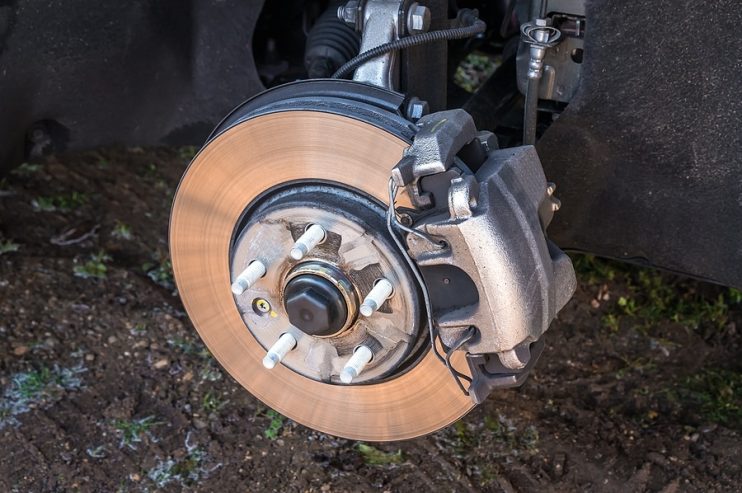
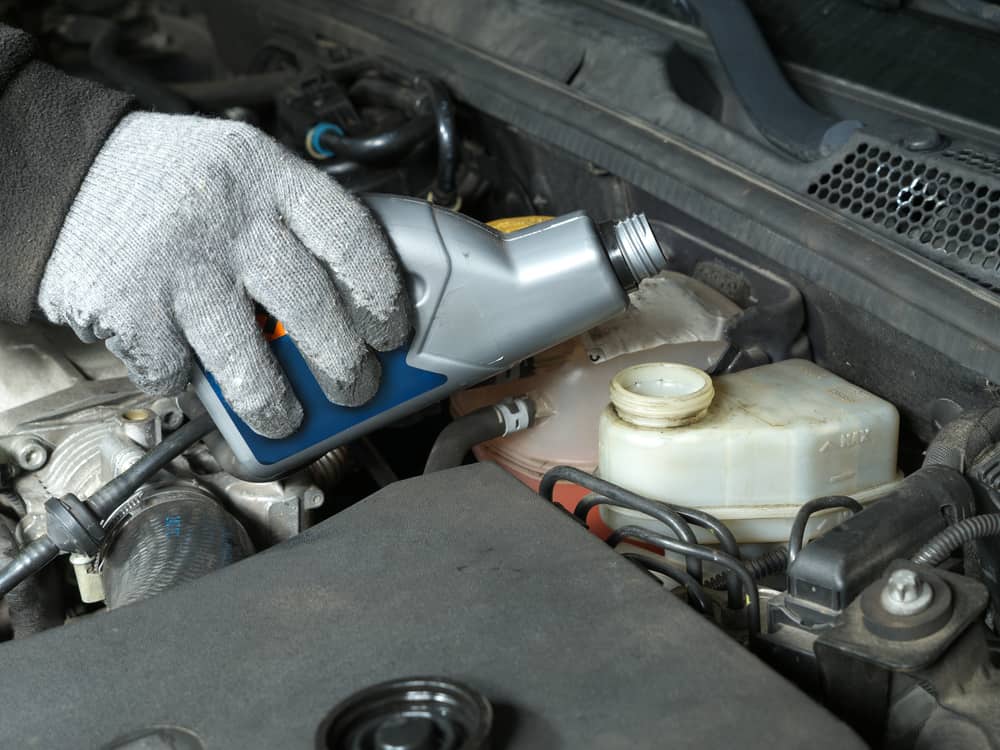
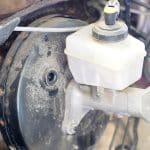
You’ll now need to bleed the brakes to check there is the right pressure for the callipers to function correctly. After checking that the master cylinder is full of fluid the next step is to attach some rubber tubing to the bleeder valve on the calliper. Get an assistant to press down on the brake pedal, which will dispel any air that has worked its way into the braking system via the bleeding valve. When air stops coming out of the valve, close the valve and refill the master cylinder.
The final step in this process is to attach the wheel back to the car and release the jack allowing the vehicle to come back into contact with the road. Finally take your car for a test drive and gently apply force to the brakes at slow speeds to check the alignment and readiness of the brakes.



.png)