
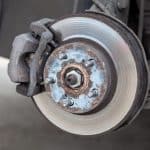
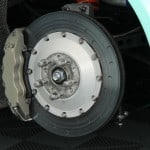
One of the surest signs that your brake discs need replacing is a high pitched noise that occurs when you put pressure on the foot brake. Equally you can always look through the holes that appear in your car’s wheel to examine the thickness of the disc. If the part has eroded to the point where it has a width of 6mm or less then it’s time for a replacement brake disc.
If your brake discs appear to be in good working order, then you may need to replace your pads and brake callipers. These are the grips that apply the braking pressure to the discs and will need to be removed in order to allow you to change the disc. This is one of the simpler tasks to complete around the car, as this is a serviceable part in an easy to reach part of your vehicle.
You will need: wheel nut spanner, car jack, jack stands, wrench or socket set, bungee cord, Phillips screwdriver, electric drill, hammer
Ready the Wheel
When the car is still on the ground, loosen the wheel nuts, but do not remove them completely. This is because it is easier to apply the generous force required when the car is in contact with a hard surface. Next jack up the car and gently lower it onto fixed jack stands. Make sure the car is stable before finally loosening the wheel nuts completely and removing the wheel from the car.
Remove the Brake Callipers
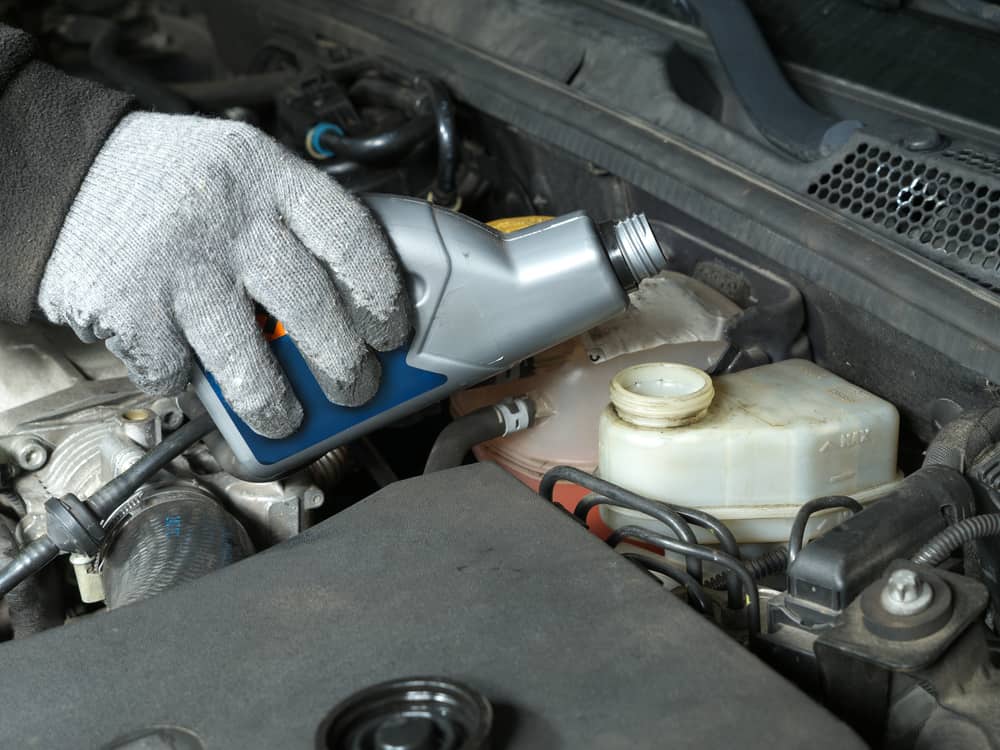
Next you’ll want to remove the brake callipers from the car keeping the hose attached. This is done by unscrewing the two bolts that sit on either side of the assembly. Before you do this however you will want to tie the callipers to the car using a short bungee cord or similar elastic rope so that you do not have to remove the hose from the car, saving you time rebalancing the brake fluid. When you have unbolted the callipers leave them hanging out of the way.
Detach Pads and Brake Carrier
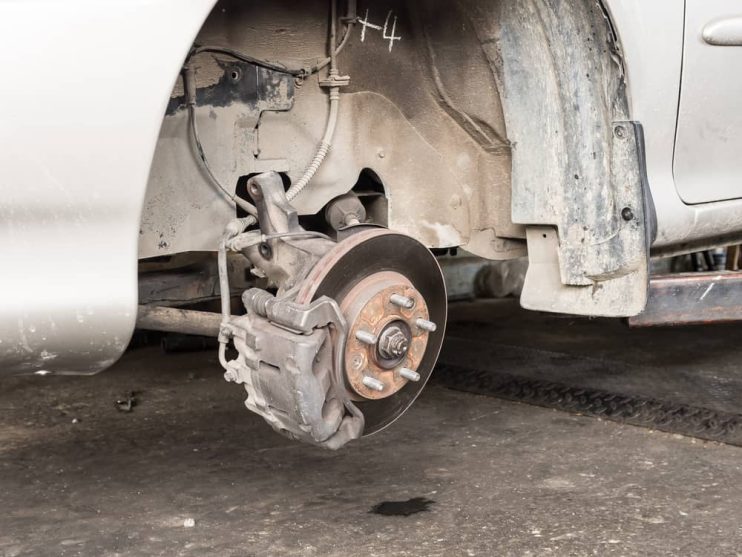
In order to get to the brake disc you’ll need to remove the structure that sits around this part holding it in place. This is called the carrier and it’s kept in place by two bolts on the back that attach it to the main axle of the car. Using your socket set carefully unbolt this from its position and then use your hands to pull it out of place with the necessary force.
Change Brake Disc
You should now be able to see the brake disc fully exposed. This is usually held in place by a number of Philips head screws. These may well be set firmly in place and will thus require a large degree of effort to detach them. If they are too firmly jammed in then they can be drilled out using an electric drill with a bit that’s slightly smaller than the head of the screw. When you have removed the screws completely use a hammer to gently tap on the brake disc and pull it out of place.
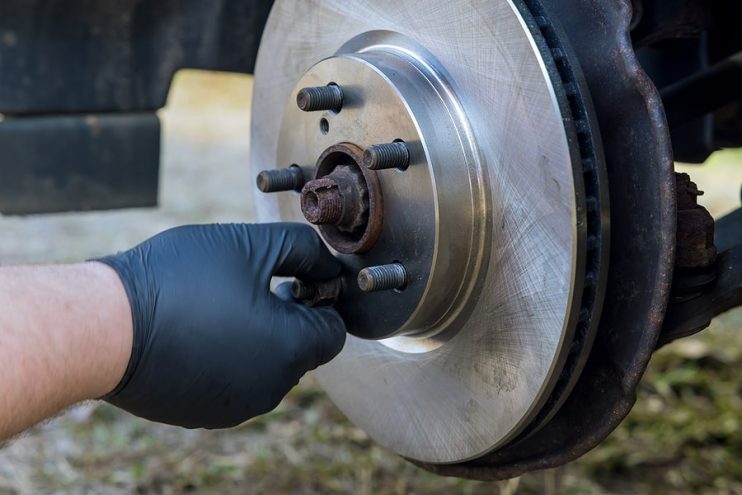
Install New Brake Disc
Next you simply slide the new disc into place and make sure that it is firmly settled into position. Next insert the Phillips screws back into the appropriate holes and tighten up as firmly as possible. The last step is to work backwards through the disassembly instructions, reattaching the carrier and then finally the brake calliper. When this is done put the car wheel back onto its mounting and loosely attach the wheel nuts. Take the car off the jack and when it is firmly on the ground tighten the wheel nuts.
Finally when you have completed this task, you’ll want to test your brakes. This is a simple procedure that requires you to drive your car out onto a quiet piece of open road and then check that your brakes are operating normally with the foot pedal. If you do find the brakes are experiencing problems then check that the brake pads are properly contacting with the disc.




.png)