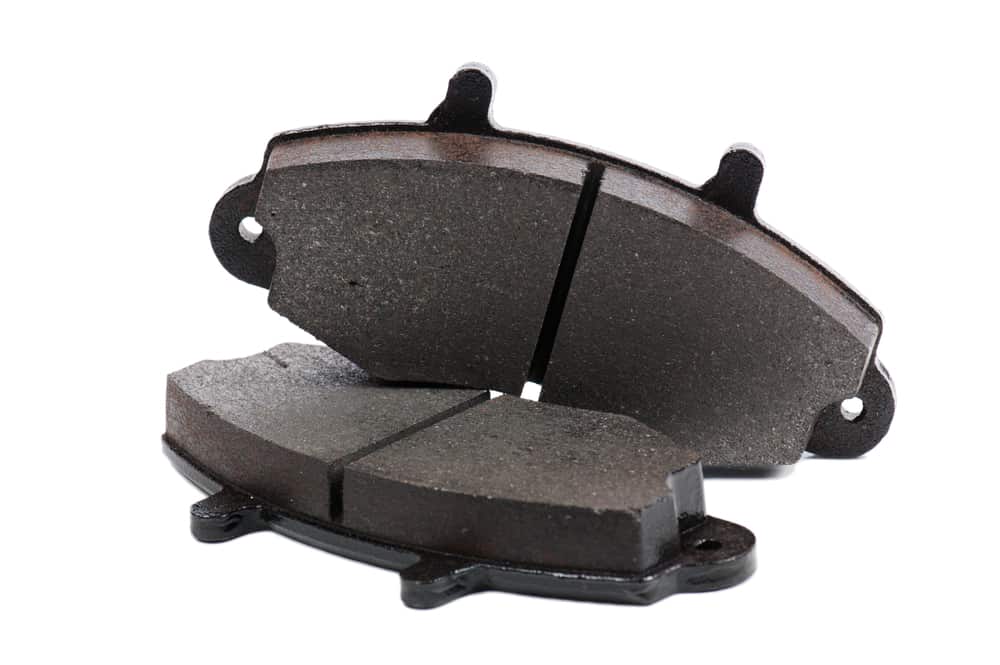
Your car’s brake pads will wear out relatively quickly. This is due to the friction that occurs when braking, with the brake callipers using the pads to stop the brake discs. The harder you brake and the more aggressively you drive, the faster the pads will wear out.
One of the first signs that your pads might be going is a drop in performance in your car’s braking. If you’re finding that your vehicle is taking longer to stop than expected then this is a sure fire sign that the pads are degrading.
Changing your car’s brake pads is only a little more difficult than changing a tyre and is one of the more simple tasks you can take on around your vehicle. It is always recommended that you change the pads on both wheels at the same time, so that the brakes have the same resistance.
You Will Need: car jack, spider spanner, socket set, anti-seize lubricant
Prepare Your Vehicle
The first step in replacing your vehicle’s brake pads is to use the spider spanner provided with your car to loosen up the wheel nuts on the wheels where you’ll be changing the pads. Only when these are sufficiently loose should you then jack up the car.
Remove the Wheels
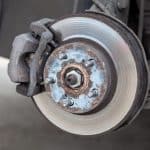
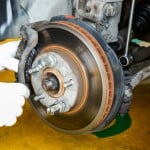
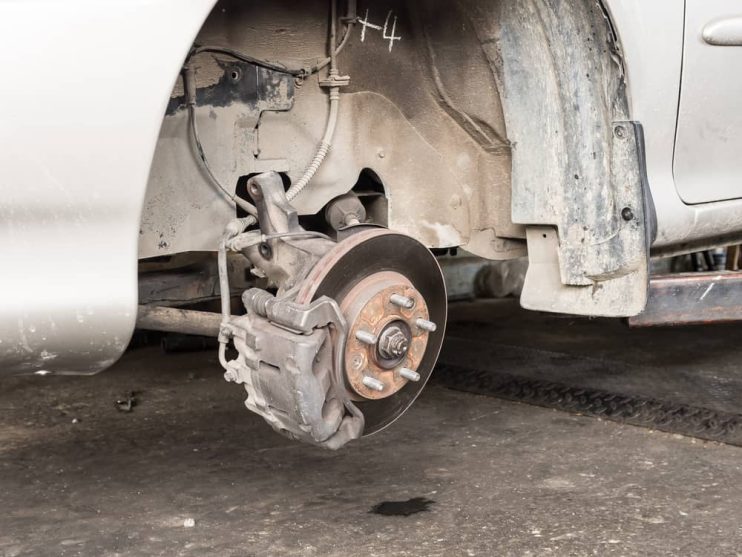
Now you can fully unbolt the wheel using the spider spanner. Place the wheel nuts in a safe place and gently ease the wheel off its seating. This should expose the brakes on the car, allowing you to see the callipers and the pads.
Detach the Callipers
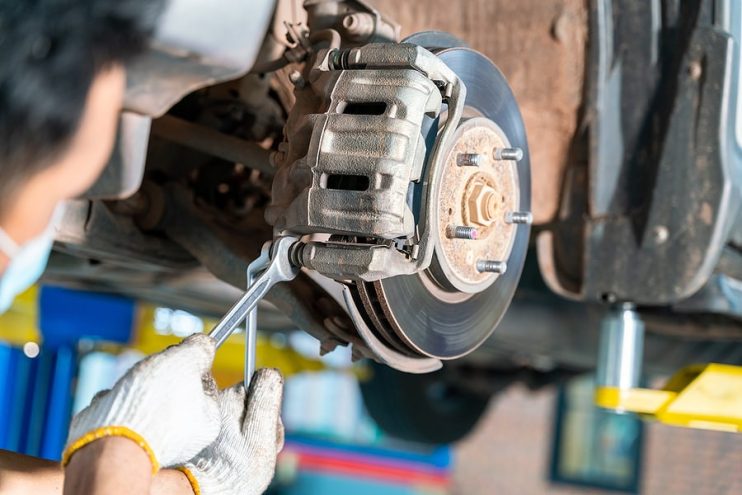
The calliper should be held in place around the brake disc by either two or four bolts depending on whether or not it is a one or two piece design. Locate the bolts and spray liberally with lubricant to loosen up any old muck and rust that may have been picked up from the road. When you have removed the bolts the calliper will still be connected to the brake fluid system. This means you will have to hang the part in place with a piece of wire around the wheel arch.
Remove the Old Pads
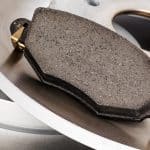
Inspect the pads to see how they are attached. Usually these parts will be held in place with small metal clips. These are often quite fiddly and tricky, requiring a certain amount of force to push out of their seating. Once these are off the pads, remove the pads and use this opportunity to inspect the brake disc for damage.
Fit the New Brake Pads
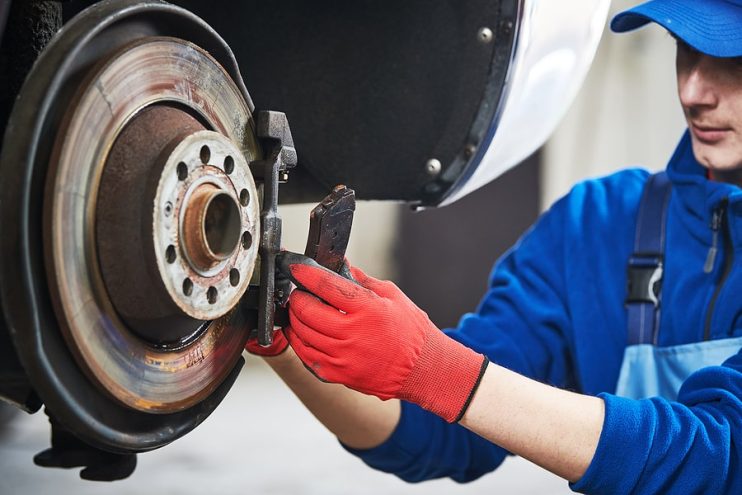
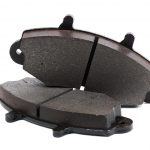
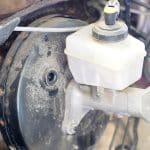
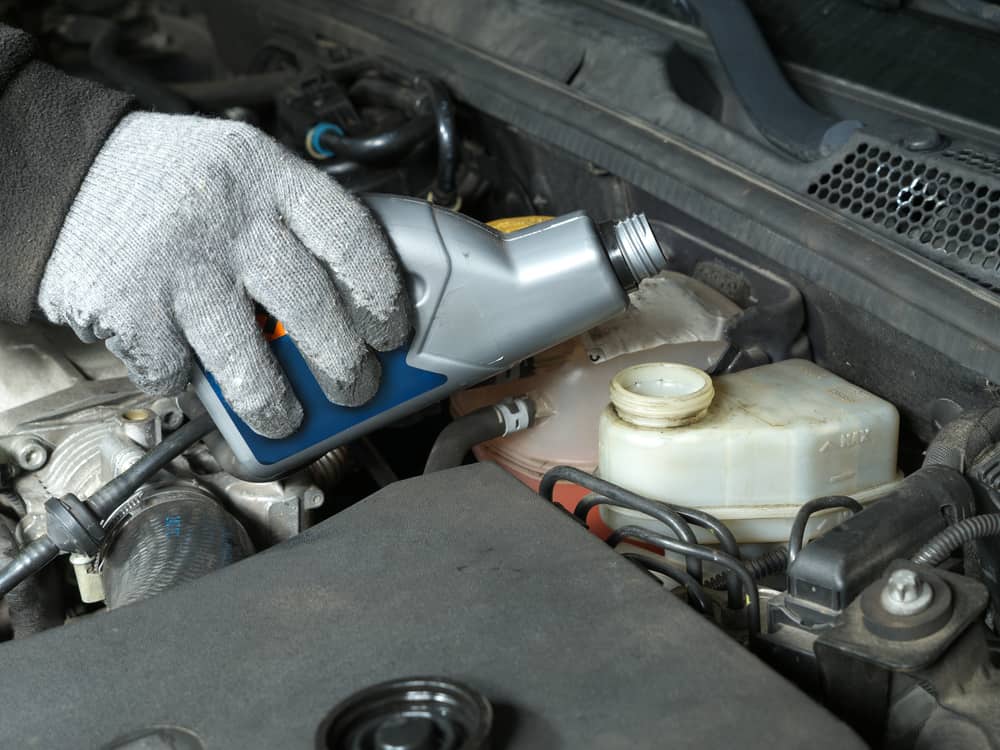
Using a spread of anti-seize lubricant on the metal contacts and the back of the brake pads, attach the replacement brake pads to the wheel. Simply reverse the steps you employed to detach the old pads, re-using the old clips to hold the new pads in place. When you are satisfied that this is correctly in place, check the vehicle’s brake fluid and if necessary add more fluid.
Finish Off
Finally when the brake pads are firmly back in place, you can go ahead and reattach the callipers to the wheel. Then put the wheel back on the hub and loosely screw the wheel nuts back onto the threads of the bolts. Following this let the car down off the jacks and when the wheel is in contact with the ground, finish off tightening the nuts in place. Simply then repeat all of these steps for the other side of the vehicle.
To test your car’s brake pads, simply take the car out on the road for a short test drive in a relatively quiet street. Try the brakes whilst driving at slow speeds. You should find that the stopping distances have improved and the car’s brakes are more responsive, although they may feel a little ‘spongey’ on the foot until they have properly bedded in.


.png)