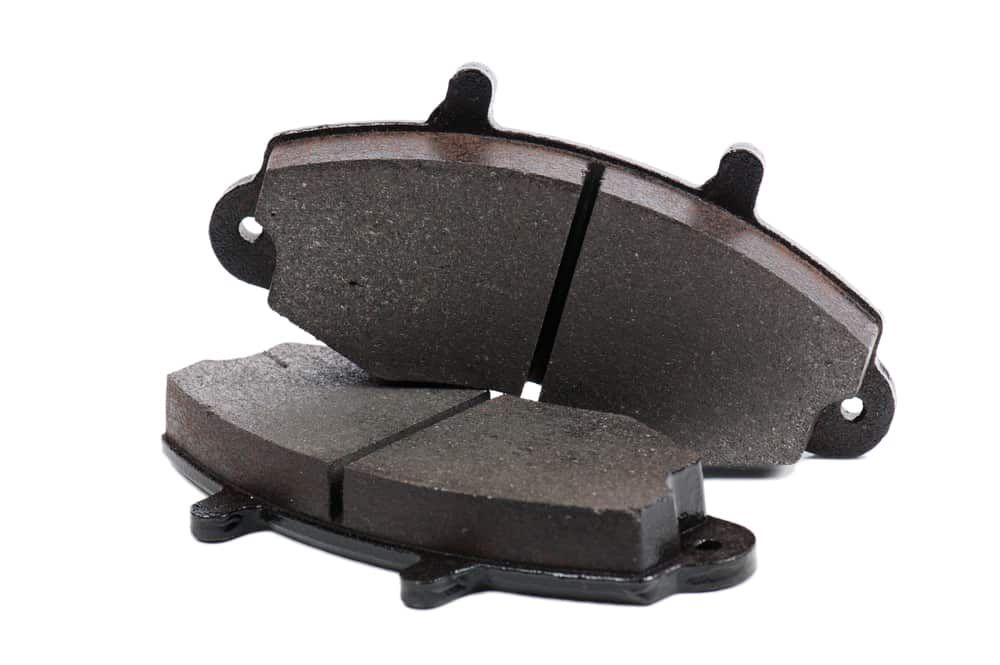
Many car parts have a limited lifespan such as the oil filter and lights. However amongst the most important are the brake pads, which are responsible for slowing and stopping your moving vehicle. Old and degraded pads will put metres on your braking distances, which in a worst case scenario could be dangerous and even life-threatening.
Brakes wear out quickly and depending on your use can only last a short while, especially if you drive frequently around inner city areas during peak times. As a result regular checks will help you ensure that your brake pads are in good reliable working order.
Table of contents:
Visual Confirmation Checks
1. Check for Wear
Take a look at your car’s brake pads through the spaces around and inside the wheel. Observe the outside pad, pressed against the brake disc. You want to see about quarter of an inch of pad here for good working operation of the brakes. Any less and you should strongly consider replacement brake pads.
Unfortunately this kind of check is only good for an approximate summary of your brake pad’s condition. Without the required access to perform any meaningful measurement or inspect the inner brake pads, which may be more worn than the outer, there are more reliable checking methods available.
2. Remove the Wheels
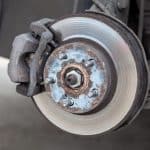
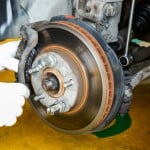
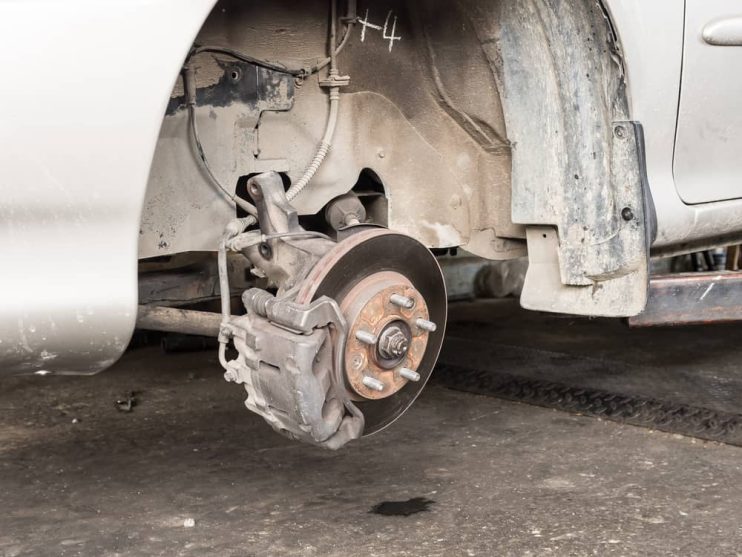
Can’t see through or around the wheel? The next step is to remove your wheel from the car to check the pad’s thickness. When the wheel has been taken off its seating, turn the steering to full lock so you can look directly at the front of the calliper. This should give you the space to check both pads and the discs. Take care not to touch these if your car has been recently used as the chances are they could be quite hot.
Accurately checking your brake pads usually involves removing the wheels of your car. Adequate provisions must be made prior to performing this change. Accurate instructions must be followed for your specific car and a workshop space is preferable together with the correct tools for the job.
Should you choose to remove the wheels, suitable axle stands are a must to support the weight of the car, following the instructions of the manufacturer. Before you do any work on a car, after you have jacked it into the required position, use an axle stand to support its weight. Never work on a car supported by a jack alone.
3. Check the Dash Lights
Many modern cars have brake pad sensors that helpfully inform you from the front seat that a certain level of wear has been reached by the pads. However, not all cars have this system and it is not 100% reliable even when it is present, still requiring you to take the wheels off for a full assessment.
Auditory Confirmation Checks
1. High Pitched Screeching
There’s a small metal shim, called an indicator, which gives you an audible signal that the time to replace your brake pads is drawing near. However if your car has experienced a period of no usage after being exposed to water, it is possible for a thin layer of rust to develop of the brake discs. As a result you may hear a screeching sound caused by the rust during the first few operations of the brakes until the rust wears off, meaning the sound will dissipate.
2. Grinding or Growling
Hearing an unpleasant metallic sound? This means you have worn down your pads completely. This harsh noise is caused by severe friction between the metallic disc and callipers. This can score or scratch your discs, creating an uneven surface. If this happens, do not be surprised if your mechanic informs you that your discs need to be turned, to even out the surface or even replaced altogether.
Tactile Confirmation Checks
1. Reduced responsiveness or fading
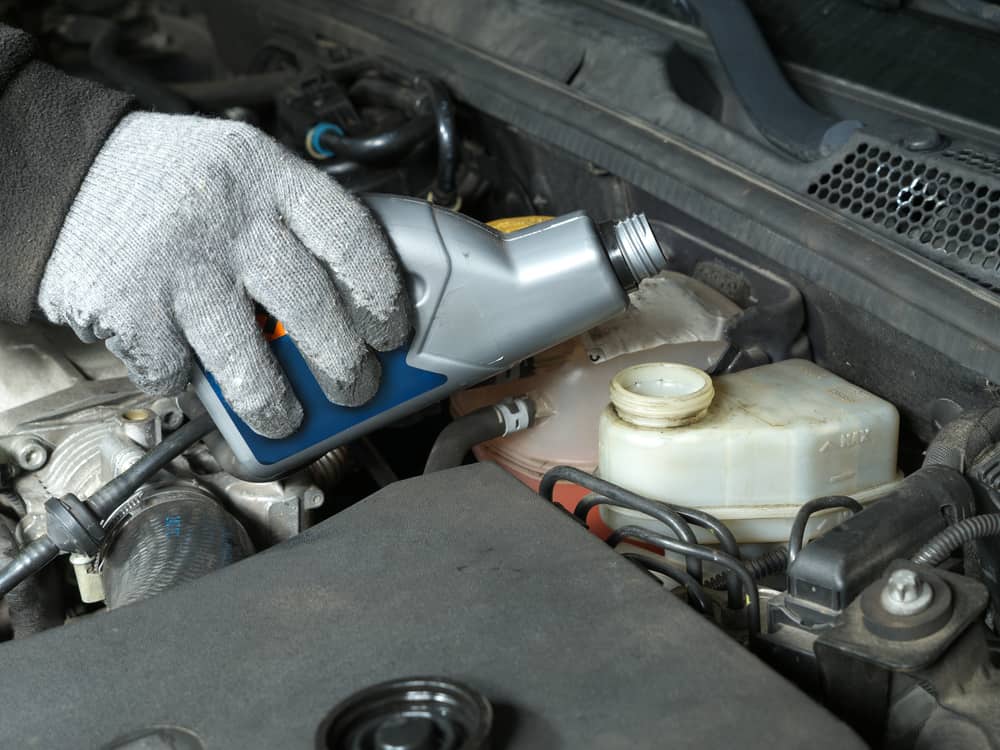
One of the classic tells for failing brakes is a spongey feel on the pedal or a sinking towards the floor. Low brake fluid is the usual culprit, as the fluid tends to evaporate through use and needs topping up. However in a minority of cases this could be due to an air leak or a brake fluid leak. Scan over your regular parking spot to check for fluid spots. Brake fluid is a little like oil, only less slimy, making leaking fluid relatively easy to identify.
2. Pulling
If your vehicle pulls over to the left or right whilst braking, this may be a major indicator that the brake linings are wearing unevenly, or there could even be foreign matter in the brake fluid. Resolve this issue with a visit to the mechanics where they may advise a simple brake adjustment or could potentially drain and replace all the fluid.
3. Vibration
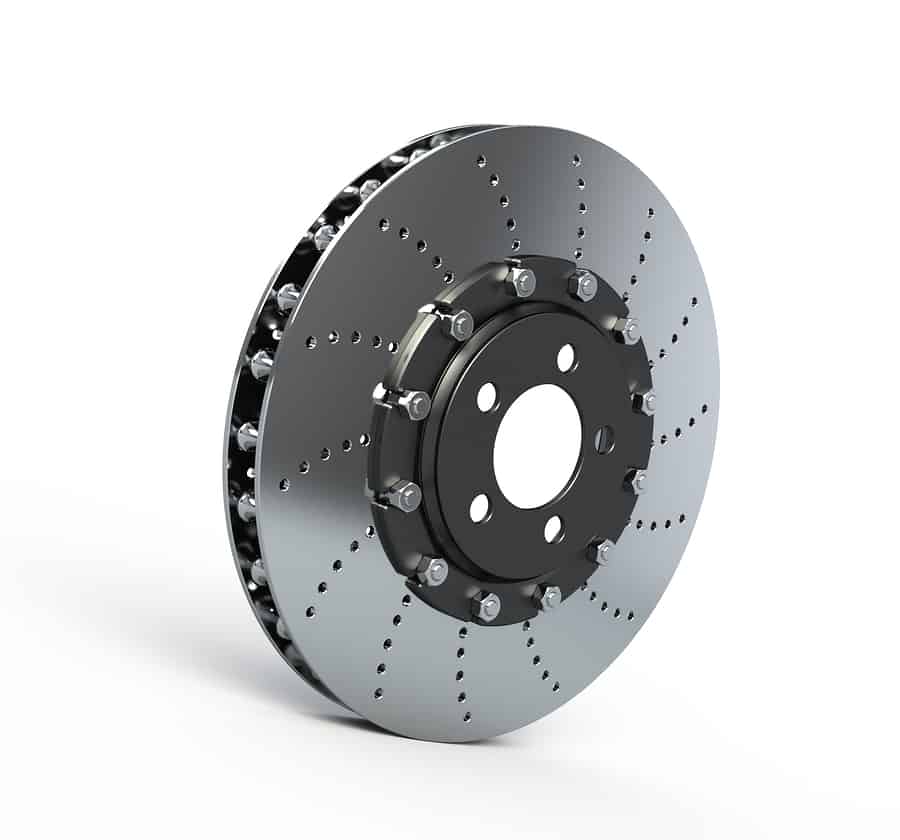
One symptom of warped discs is a vibrating or pulsating brake pedal, which can feel similar to the feedback you’ll experience when performing a panic or emergency stop in a vehicle fitted with ABS.
The tell-tale sign is of warped discs is when the vibration occurs during braking situations without the ABS being engaged. The usual cause of warped discs is severe breaking for long periods of time, which could result from towing another vehicle or going down a steep incline.
Tremendous amounts of heat and friction are generated under these conditions, weakening the discs and causing them to warp. As a result the surface becomes uneven and bumpy, leading to the pads failing to grab the surface evenly. If you drive in such adverse conditions it may pay dividends to stop regularly to give your brakes time to cool properly.
And Finally
Of course, there are driving tips you can also adopt to prolong the life of your brake pads. Consider the following:
- Driving smoothly and calmly is one of the optimal methods of preserving your brake pads. Keep your speed at a consistent level, give yourself room to slow down naturally and don’t brake unnecessarily.
- Be economic with your acceleration as pushing your car up to high speeds will make it much harder to slow down.
- Maintain a safe distance from the car in front, giving you the room to gently brake if there are any sudden stops. Close driving leads to hard braking, which ultimately will wear down your pads faster.
- Take a look at our bad driving habits article to avoid behaviour that could potentially wear down your pads faster.

.png)