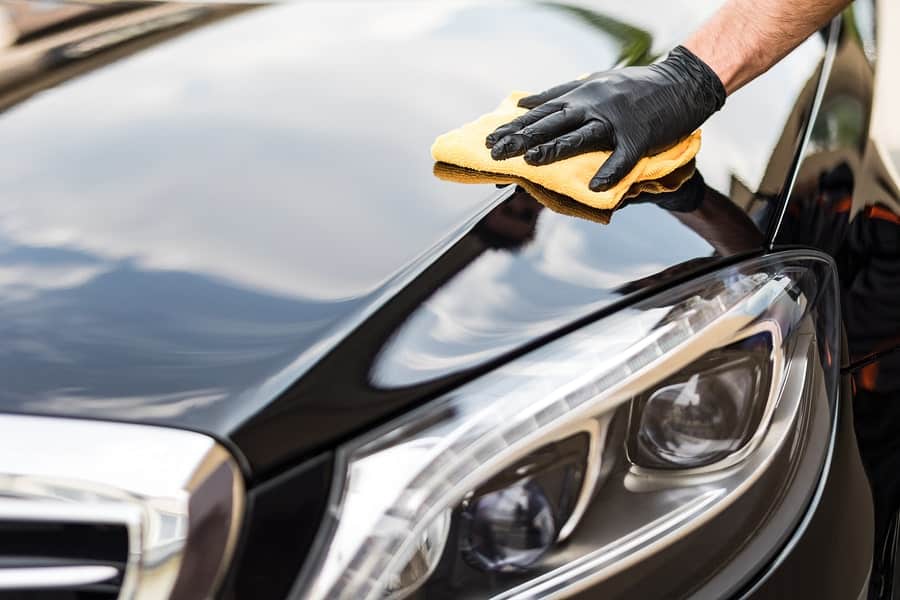
When you are driving it is inevitable that small stones will fly up and cause damage to your paint job. Big scratches and dints take specialist skills in the spray booth to resolve, especially when your paint has faded.
However, if the damage is smaller than a 50p piece then it is possible that you can use touch up paint to save yourself the costs of a professional job. Obviously the results may not have that fine finish, but with our simple to use guide you can achieve a passible look all on your own.
Step 1: Find the Right Paint
Every car has a code panel that lists the paint number under the bonnet. This is located on the bulkhead attached to the firewall that separates the engine from the cabin. This will give you an order code that allows you to get the exact type of paint you’ll need for the job.
Some paints do not need a primer. Check the label and if you do need a primer purchase one along with a small art paintbrush that you can use to apply the paint.
Step 2: Look Out for Rust
Check the damage and if bare metal is exposed under the small scratch or dint you may need to apply a small touch of rust arrestor onto the naked area to prevent the rust from spreading underneath the retouching.
Step 3: Wash the Car
Wash the car to remove all dirt, dust and debris, before applying wax remover to the area. Dry carefully with a soft lint cloth or using the natural ambient heat before progressing with the retouching work.
Step 4: Apply Primer if Necessary
Before you start applying primer and paint to the car you’ll want to protect the surrounding bodywork with masking tape and paper. If there is still undercoat visible underneath the dint or scratch you can often simply apply the paint. However if there is any sign of bare metal you must apply primer.
Put a small dab of primer on the dint or scratch and spread it out to cover the area of the damage. This is an essential step as paint simply will not adhere to bare metal. Primer will help reduce the chance of rust and fills in any holes and imperfections in the surface of the bodywork.
Step 5: Test the Paint
It is unlikely that the colour will match your existing bodywork, unless your car is very new. Car paint tends to fade over time and this is especially true for older cars. Hence you will want to try out a little dab of paint under the lip of a door to ensure that the touch up paint doesn’t react with the existing paint and the colour is a good match.
Step 6: Painting
Pour out a small amount onto a shallow plate to use as a palette and then spread at least 2 but no more than 3 layers of paint onto the damaged area. Be careful to ensure the spot does not become more elevated than the rest of the bodywork.
If the area is very thin or small you may want to use a matchstick or even a wooden toothpick to apply a fine line of paint. Alternatively you can purchase some incredibly fine brushes or cut down a larger one.
Step 7: Polish and Wax the Car
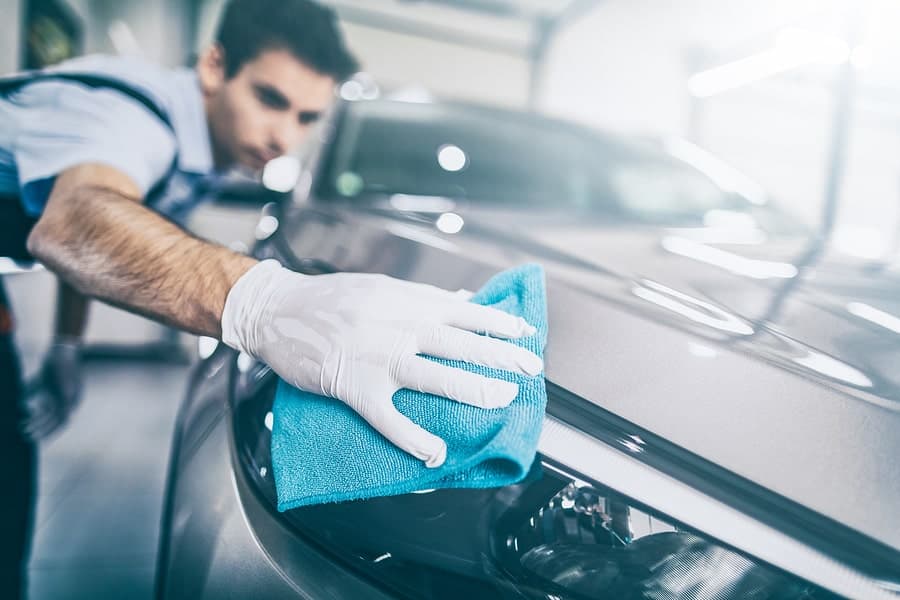
Wax and polish your entire car to blend in the painted area and bring everything to a high gloss. Obviously if you have multiple dints or scratches in the car you should complete the repair on each and every one before performing the final waxing.
A Final Word
Now you have repaired your car you can take it back on the streets with a smile on your face. Store your touch up paint, primer and wax somewhere safe as if you are a big road user these kind of small problems are simply part of regular life on the tarmac.






.png)