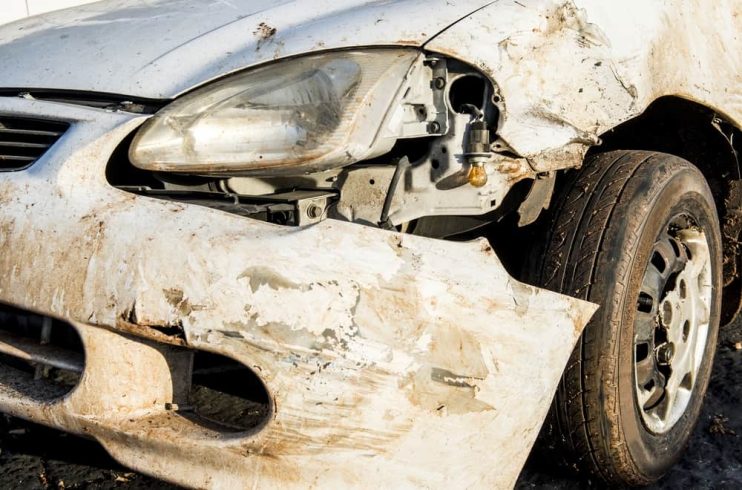
Although cars have a robust strength presented by the chassis and frame of the vehicle, the bodywork can be easily dented. Your front bumper is the part of the car that will deflect most bumps and bangs on the road, saving you a fortune at the panel beaters. However, over time the wear and tear on this part can cause it to fail and need replacing.
This is one of the less complex mechanical jobs that you can perform on your car, and it can be attempted by even those with the most basic of technical knowledge. All you need to complete this task is a spanner set, a socket and ratchet set, some wire clippers, a Phillips and a flat-head screwdriver and two wheel ramps to help you elevate your vehicle and you’re ready to go.
Step 1: Locate and Unscrew the Bumper Cover
There are two parts to the front bumper. The first is the painted cover that matches your car’s colour scheme. This is sometimes referred to as the bumper, but is actually concealing the real bumper underneath. To replace the bumper you will need to remove this first. Open the car bonnet and remove the screws that hold the cover in place. These can be found above the grill.
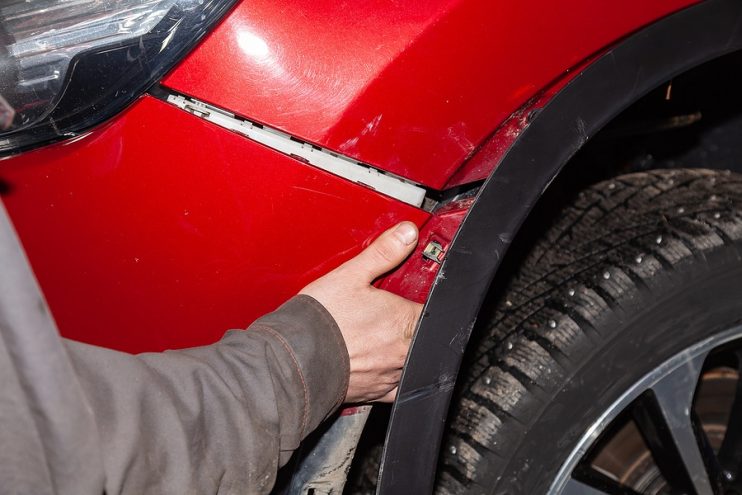
Step 2: Unclip the Bumper Cover
It’s now time to unclip the bumper cover from its position. Look underneath the front side of the part and locate the plastic clips that hold it in place. Carefully use the flat head screwdriver to pry these out of position. This should leave a clip exposed. This clip attaches the bumper to the body work, and needs to be cut with your clippers. Finally pull the bumper cover away from the car and place it on a blanket or towel to prevent it from getting scratched or damaged.
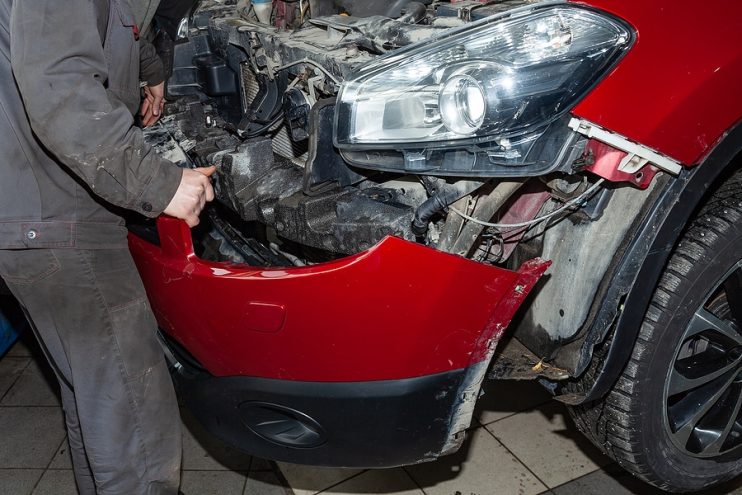
Step 3: Front Bumper Removal
After driving the car up the wheel ramps so that the front of the car is elevated, use a body board to go under the front of the car and find the bolts along the upper edge of the bumper. Use your spanner set to remove the bolts, and use the socket and ratchet set to remove the tensioning rods that sit on either side of the bumper. Make sure you store all the bolts in a safe place for reattachment, and then take the old bumper away from the car.
Step 4: Replace the Front Bumper
Place the replacement bumper on the frame of the car and thread the bolts through the holes in the part to hold it in place against the frame. Then simply reattach the nuts to the bolts and tighten so the bumper is flush against the bodywork before finally reattaching the tensioning rods. You’re now ready to drive the car down the ramp and get to work on replacing the bumper cover.
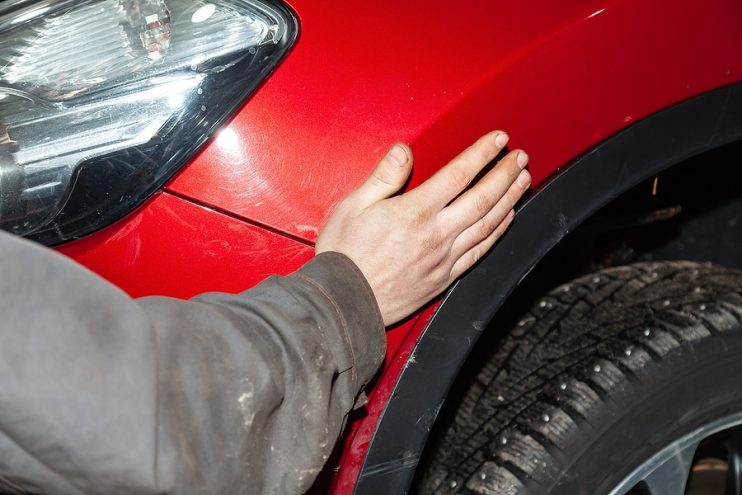
Step 5: Reattach the Bumper Cover
Retrieve the bumper cover from its safe storage space. You will need to replace the clips that you destroyed in step 2 with new clips or the bumper cover will flap in the wind. Simply put the cover in place and lock it in position before reattaching all the necessary clips. When this is completed and the part is firmly held against the bumper simply reattach the screws under the grille and your car is good to go.
As said this is one of the easier jobs to complete on a car. All you have to do is put a little pressure on the parts to check they are firmly attached to the bodywork of the vehicle and you are good to take your vehicle straight back on the road.





.png)