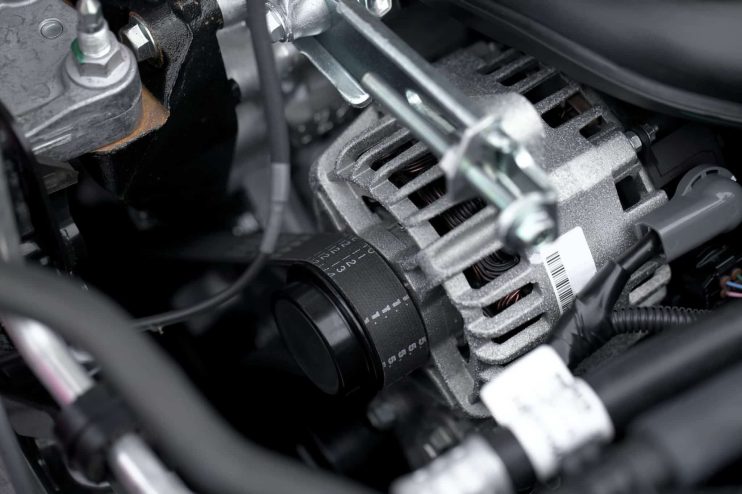
First Inspection
There are two different types of belt. The first is the serpentine belt, which is constantly tensioned by a spring or hydraulic means, the second is the component tensioned belt, which is usually found on older cars. Both belts will exhibit the same kind of signs of failure. Look for cracks, which can be an indicator the part is failing, or glazing, which means that the belt is too loose and is slipping. Finally if there is any major damage to the belt, such as a tear or split, you will be required to make an immediate change out of the part.
Checking Tension of Engine Belts
Carefully find the longest length of belt that sits between the pulleys, and apply pressure to it with your thumb or finger. You’re looking for around half an inch (1.5cm) of give in the belt. Any more than this means the belt is too slack and will slip on its pulleys. Any less and the belt is too tense, which could lead to premature failure of the part.
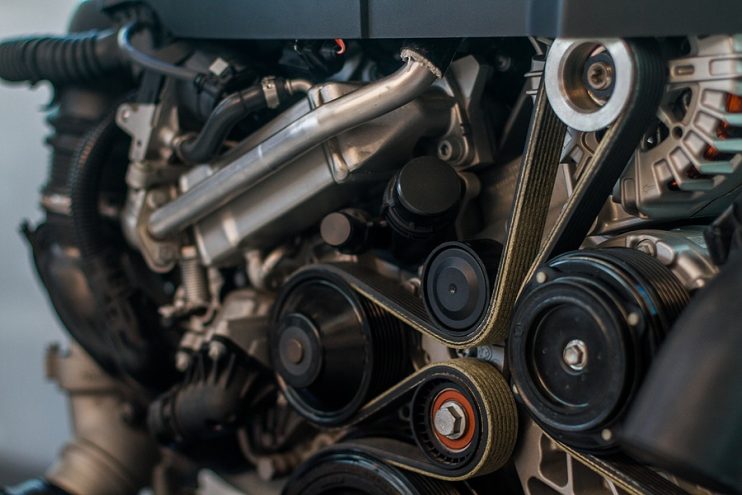
Belt Routing
As with any car part change you’ll need to check your vehicle’s service manual for any special instructions that are specific to your model and make, before attempting to change a belt. It will also help to look at a drawing, so you can become familiar with the routing and set up of the belt. If you don’t have a manual then it can be extremely useful to make your own rough sketch of the routing, which you can then refer back to in the event of any later problems.
Removing An Old Belt
If you’re dealing with a component tensioned belt, you may have to move the component or loosen all the nuts on the tensioning pulley in order to remove the belt. With a serpentine belt you’ll need to use a tool to push the tensioner, allowing you to free the belt from its pulley. Always make sure to pay attention to the routing of the belt when you remove it, so you can tell where the new belt will sit in the engine. Finally, keep the old belt and compare it with your new, replacement belt, to ensure that they are the exact same size. If the belts have a discrepancy between them, then you may have purchased the wrong belt.
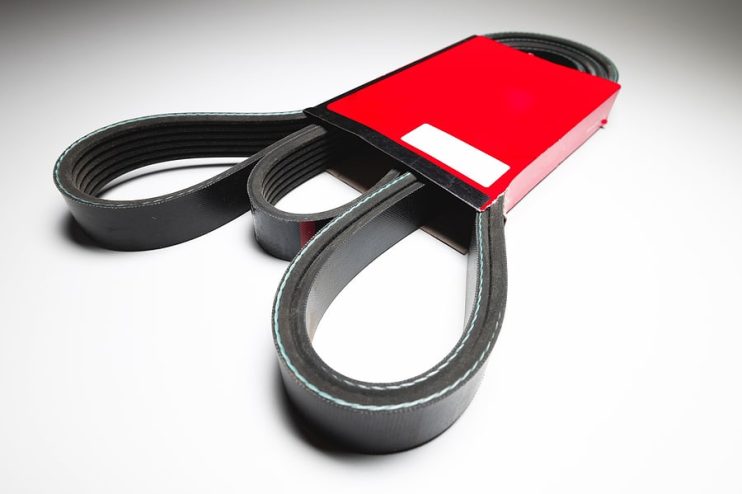
Installing The New Belts
Carefully thread the new belt between the pulleys, ensuring that you follow the required routing. When the belt is in place you’ll want to apply the appropriate tension, by either adjusting the tensioning pulleys or the tensioner, depending on what type of belt you’re replacing. If you are replacing the belt on your alternator, it might be necessary to adjust the placement of this part using a pry bar whilst loosening the adjustment fastener, which will allow you to find the correct tension in the belt. When the belt is in place, check the tension as described in step 2 to make sure it is adequately fitted.
Run Your Car
Finally, to check that the belt is correctly in place, start your engine and observe it for a few minutes to check for any problems. Unexpected noises, such as grinding or squealing, or any visual signals such as smoke, may well indicate that the belt is either too tight or that it has been incorrectly routed. Turn the engine off and allow the belt to cool down for a few minutes. Finally check the belt’s tension and the routing either on your own diagram or with the service manual, and where necessary repeat the required steps.







.png)