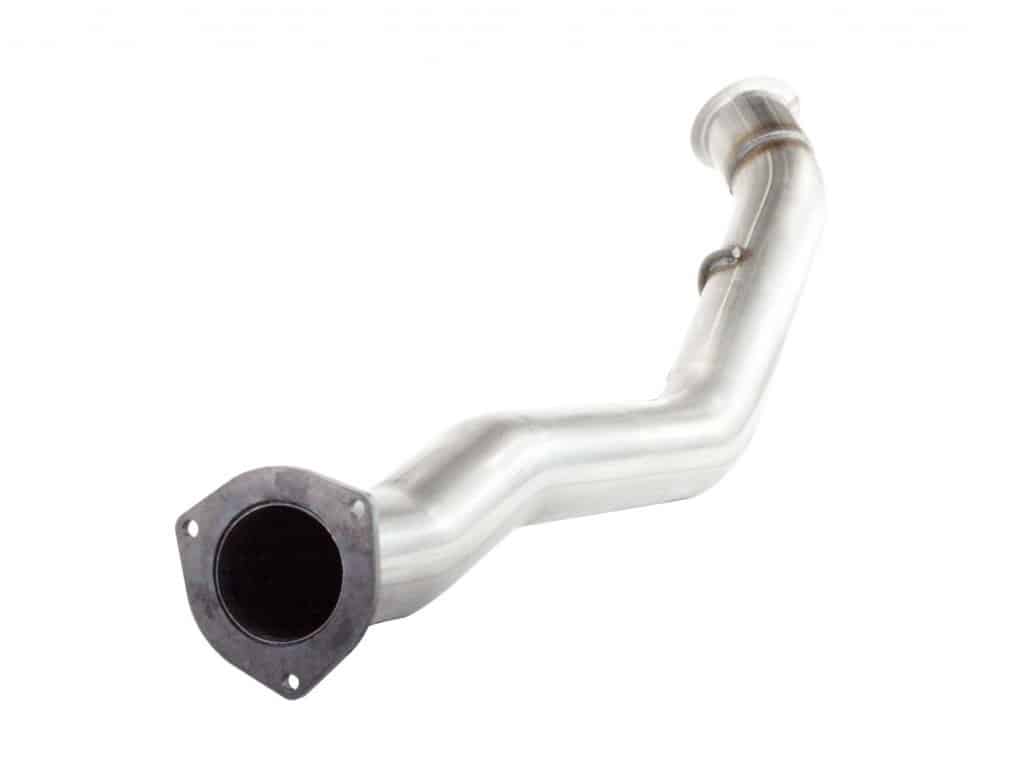
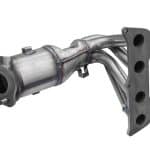
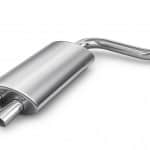
The exhaust downpipe is the piece of the exhaust that connects the catalytic converter to the final exhaust tip or flange. This is a very small piece of pipe that can often become damaged from rust, wear and fatigue.
The first sign that it could be suffering from problems is an increase in the volume coming from your exhaust. Verify that the part is damaged by inspecting it when the car is running, looking for exhaust gasses escaping from holes in the part or leaks around the seals with the catalytic converter or exhaust flange.
In theory this is one of the easier replacement jobs you can take on around your car. However you may find due to the rust and muck that’s picked up by parts underneath the car, a considerable amount of strength is needed to perform the task.
You will need: spanner set, lubricant, car jack and jack stands.
Prepare Your Vehicle
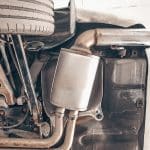
Depending on the space around your car’s exhaust downpipe, you may need to jack up the rear of your car to access the part, or alternatively if there is enough clearance you may be able to simply lie on a board and remove the part.
Remove the Exhaust Flange
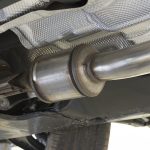
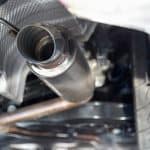
You should be able to find the exhaust downpipe coming out of the back of the catalytic converter. This will most likely have an exhaust flange attached to it that will need to be unbolted and removed from the downpipe. Once you have detached this part, inspect it carefully for signs of wear or minute holes as it may need to be replaced at the same time too.
Unbolt the Downpipe
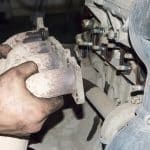
As with many parts that are located under your vehicle, there is a very good chance that the bolts that hold the downpipe in place will be covered in all kinds of muck and rust. This means that you may need to spray a liberal amount of lubricant onto them to loosen them up. If they are firmly in place then leave the lubricant to do its work before you start trying to remove them.
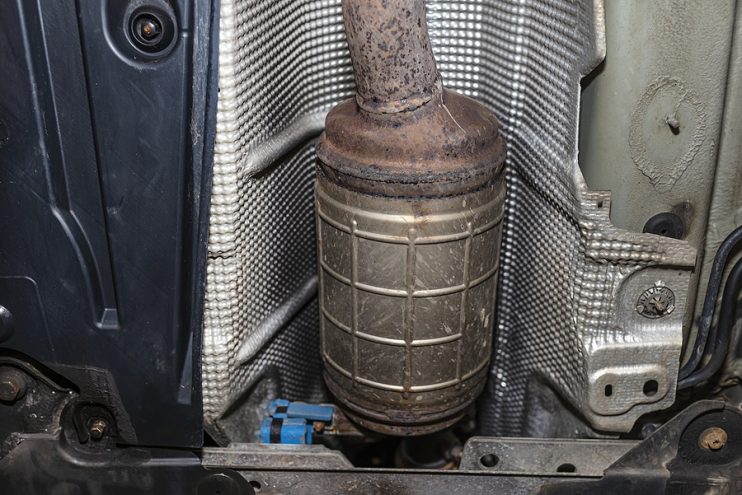
Detach the Downpipe from the Catalytic Converter
Next you’ll need to remove the downpipe from the catalytic converter. This may take a considerable amount of effort to pull it out of its seating and you may even require assistance from a helper if the car is situated very low on the road. Once the part is removed, clean the catalytic converter’s exit hole of dirt and debris.
Attach the Downpipe to the Catalytic Converter
In the replacement exhaust downpipe kit you should find two seals. One is for the exhaust flange and one is for the rear of the catalytic converter. Place the seal on the downpipe and connect the part to the catalytic convertor using a considerable amount of force to make sure it’s firmly held in place.
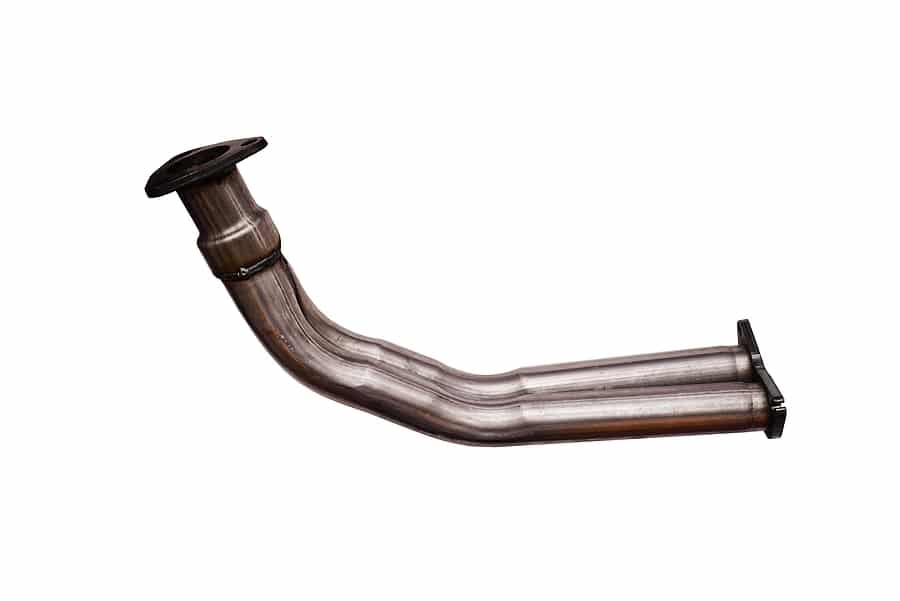
Bolt the Downpipe and Add the Exhaust Flange
Finally you should be able to bolt the downpipe back into place at the rear of the car using the new bolts that should be provided in the replacement kit. Attach the second seal to the end of the exhaust downpipe and bolt the flange into place.
When you are completely satisfied that the downpipe is firmly in place at the rear of the car, start the engine and listen for faults. If you cannot hear any problems with the exhaust downpipe then a quick visual check should confirm that there are no extra fumes leaking from around the catalytic converter or flange.





.png)