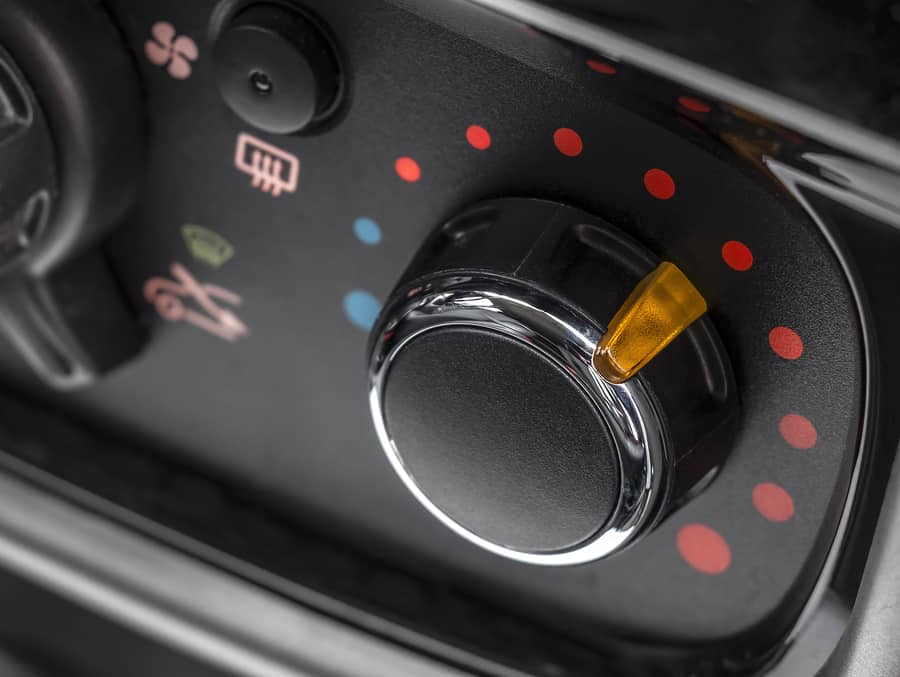
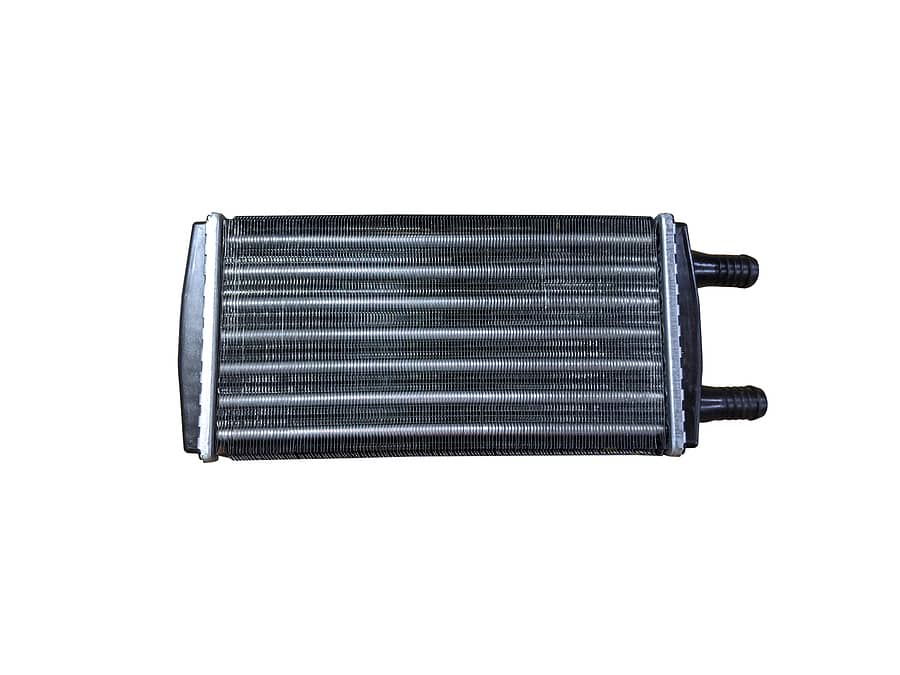
The heater matrix is a component within the heater unit and a smaller version of your car’s radiator, which has the engine’s coolant running through it. It uses the coolant to transfer heat into air, blown through it from the heater motor, which then comes out of the vents in the car.
Fluctuations in the temperature in your car is often one of the first signs your heater matrix may be experiencing problems. This could be coupled with another indicator of trouble such as your car fogging up suddenly for no reason.More definite signs of failure are the sickly sweet smell of coolant cooking emanating throughout your car and liquid in your car’s foot well, both of which could mean that this part has stopped functioning correctly.
Getting to the heater matrix is a major task. It is embedded behind your car’s dashboard and it can take a matter of hours to actually access the heater assembly in order to change out the heater matrix. This makes this quite a complex task that should only be attempted by people with a high level of mechanical skill.
You will need: drill, foam padding, spanners or socket set.
Step One: Remove the Heater Box
Locate the heater unit, which should be situated behind part of the dashboard or glove compartment, depending on what make and model of car you own. It may be necessary to completely remove the entire dashboard, taking the front console of your car apart to access the unit. When you have found the heater box, the next step is to disconnect all the tubes and wires connected from the part so you can free it safely from its seating.
Step Two: Remove the Heater Matrix
You will not need to replace the whole heater assembly due to a fault in the matrix, instead simply remove the heater matrix and replace this within the heater. This may require you to work the bolts and fixings out of the heater to remove the matrix and in some circumstances this will require you to use a drill to access the screws. With many cars there is also a large amount of insulating foam that surrounds this part, which you should replace to keep the integrity of the heater unit’s warm air output.
Step Three: Fit the New Heater Matrix
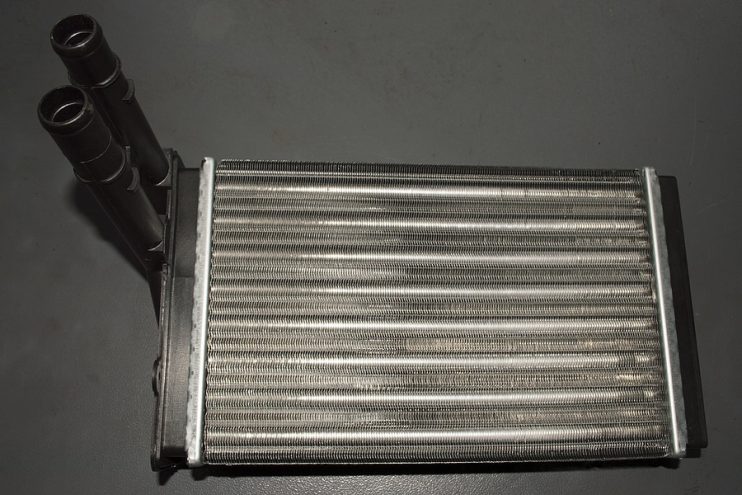
Put the replacement heater matrix in place and use some kind of foam padding cut into shape to insulate the part from the outside air. Next up put the heater assembly back together using whatever methods necessary. This means you may have to use self-tapping screws, or you could alternatively use nuts and bolts to fix the heater back together if you ensure that there’s enough room in its compartment to cope with the extra size.
Step Four: Replace the Heater Box
The final step is to put the heater box back into place, which should be a case of simply applying a little pressure to get it back into the seating. Next put all the required cables and hoses into place before bolting the part back into position in your car’s cabin. Finally put the bolts in place and finish off the job completely, by rebuilding your car’s dashboard so that all the trim is back in place.
To find out if your new heater matrix is working correctly, simply start the car and check that the hot air in the car is properly circulating around the vehicle and that heat is coming in through the air vents. If it is not, then there’s a good chance that you haven’t sealed the part or the unit correctly, and you may need to take it out and inspect it to find out where the fault lies.



.png)