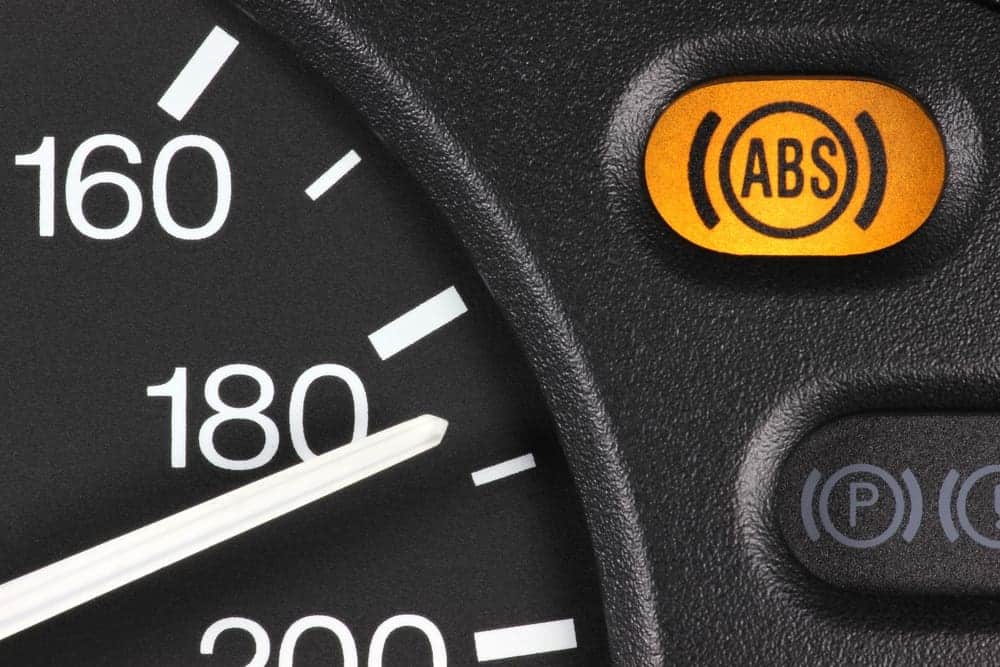
The ABS is a computer controlled mechanism. Therefore the car is able to immediately tell if there is some kind of problem within this system, and will display the problem via the ABS error light on your dashboard. This should not affect the normal braking function of the car, which will allow the brakes to operate without the benefit of the ABS preventing locking in difficult conditions. The ABS sensor can be checked with a resistance meter to check the quality of the circuit within the part and this should show you whether or not to replace.
You will need: tire spanner, car jack, jack stands, Philips head screwdriver, socket set and spanner, torque spanner.
Disconnect Negative Battery Terminal
As when working on all electrical parts within your car, the first step is to ensure that you disconnect your batteries negative terminal. Simply disconnect the nut that holds this in place before sliding the clamp to cut off power to all the ABS sensors.
Remove the Car Wheel
The next step is to remove the car wheel. Remember to loosen the nuts before you jack up the wheel and then completely remove the wheel nuts when you have successfully jacked up the car and placed it onto jack stands. This will give you access to the ABS sensor.
Locate and Remove the ABS System Sensor
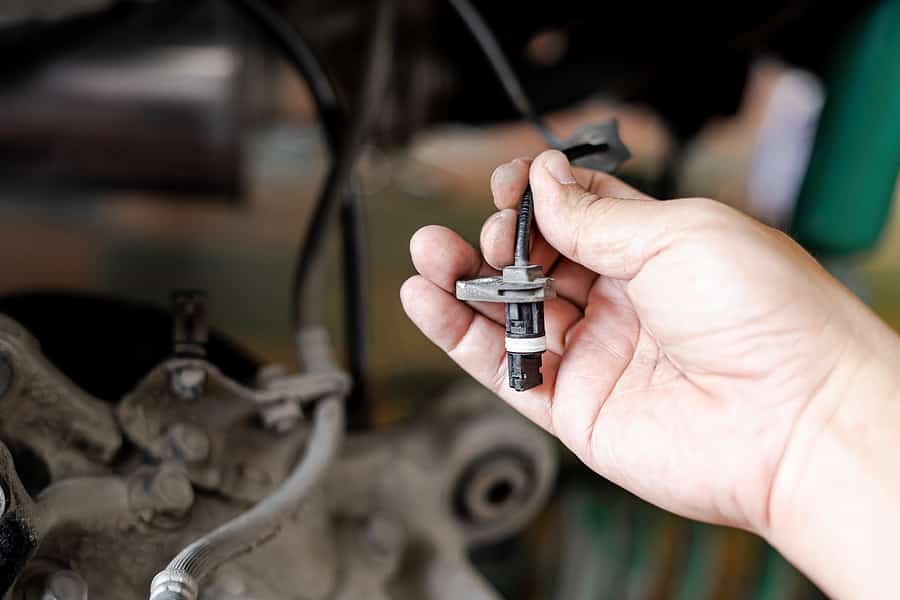
It should be easy to find the ABS sensor. It looks like a black box located on the wheel hub assembly. Before you go any further this is a good time to use your phone to take a picture of the wiring configuration for when you install the new unit. Unplug all the wiring from this unit and then remove all the screws and bolts that hold it in place on your vehicle with either a screwdriver or a spanner.
Install the New ABS Sensor
Compare the new replacement ABS wheel sensor to the old part to ensure that you have the right sensor for your make and model of vehicle. When you are satisfied that they are the same carefully align the new unit with the holes in the wheel hub assembly. Attach the unit to your car and then use the photograph you took previously on your phone to ensure that you attach the wires in the correct configuration.
Reattach Car Wheel
Now place the car wheel back on the hub and loosely attach the wheel nuts by hand so that they are held in place. Remove the jacks from the car and then let the car back down onto the surface with the car jack. Finally reattach the bolts to the car wheel when it is sitting firmly back on the surface where they can be tightened to the appropriate level.
The final step is to turn your car on and take it out for a test drive. The ABS fault light should now be off on your dashboard, indicating that the problem has been solved. If the light still persists following the installation of a new part then it may be a good idea to check the part is working using the resistance meter and if it is sound, then there could be further problems within the ABS electronics.

.png)