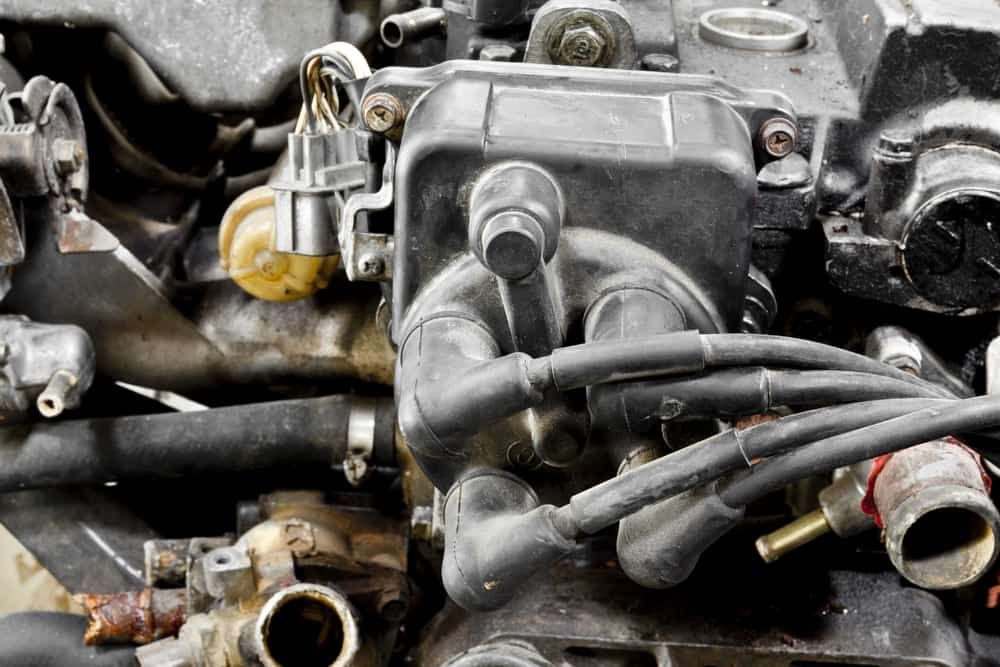
The distributor cap controls the ignition sequence in your engine. It ensures that each of the pistons fires at the right time to keep your car turning over. There are a number of signs that your distributor could be fatigued or degraded, and unsurprisingly most of these are linked with your car’s performance. These include shakes when the car is idling at a junction or red light, problems starting in the cold, stalling and backfiring, and trouble with the engine turning over.
Changing a distributor is a moderately difficult task and can be attempted by anyone with a reasonable amount of mechanical knowledge and an understanding of the basic workings of a car.
You will need: Screwdriver, spanner, socket set, timing light, marking pen, tape
Locate the Distributor and Find the Timing Specifications
Open the bonnet of your car and locate the distributor. This is usually a large cylindrical part connected to large wires that power the system. It can often be found on the top of V6 and V8 engine and to one side of inline V4 and V6 engines. Located close to the distributor there should be a timing specification, allowing you to use a timing light to set the timing of the engine when you have installed the new distributor.
Remove the Distributor Cap and Disconnect Wiring
First you should remove the plastic cap that sits on top of the distributor, which should be held in place by basic clamps that are removable by hand. However in some cases there may be screws or nuts or bolts keeping it in place. Remove all wires attached to the distributor, whilst marking each one with its location on the distributor. Take care to also mark the position of the engine mounting point and rotor to be sure these are in alignment with the new part.
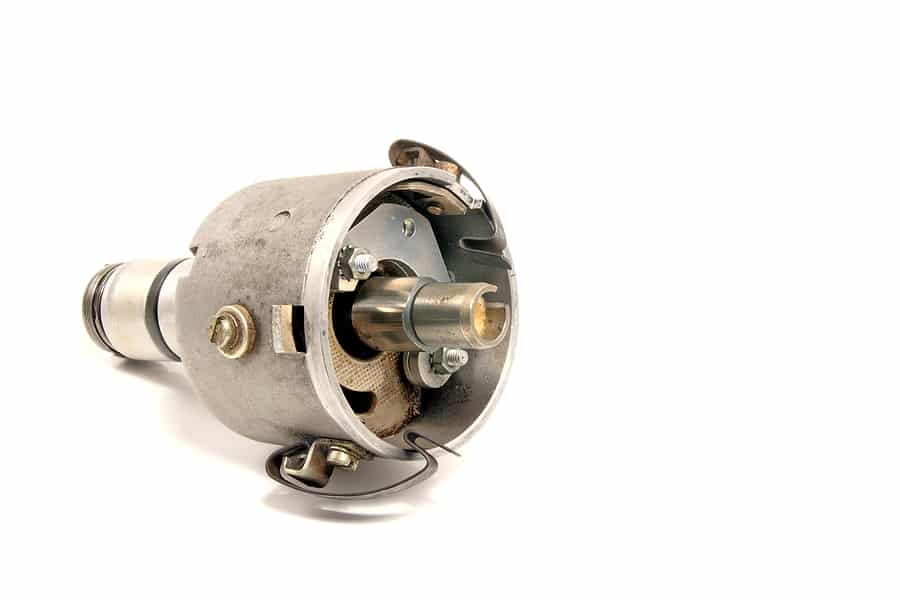
Remove the Old Distributor
Next unscrew the bolts that hold the housing in place against the engine, then gently pull the distributor away from the engine, making sure that you leave the rotor in the same position. This should come away cleanly from its seating without too much effort.
Mount the New Distributor on the Engine
Mark the new replacement distributor in the same places as the old part to ensure you replace it in the same position. Next reattach the part to the engine, observing that all the marks line up before going ahead and screwing all the bolts back in place needed to hold the part in its seating. Leave the bolts loose enough to allow readjustment of the rotor configuration.
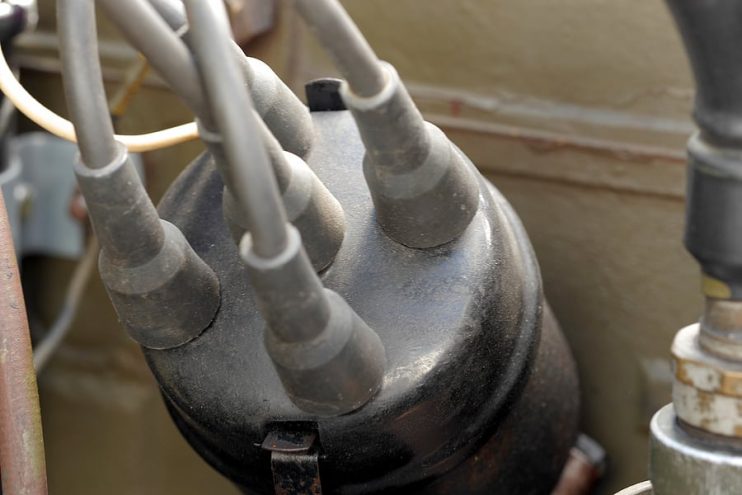
Replace the Cap and Reconnect Wires
Reattach the wires to the distributor cap in accordance with the labelling in step 2. When you are satisfied these are all safely and correctly back in place then replace the distributor cap into its original position, using the manual clamps or by putting the bolts back in place. Try to start the car. If you experience any problems in getting it to start then readjust the rotor until you can get the ignition to function correctly.
Adjust the Timing
This is where you use the engine’s timing settings. Stop the car completely and place the timing light on the first spark plug and then restart the engine. Adjust the timing by gently rotating the distributor housing and when you’re satisfied with the timing settings finally tighten all the fasteners that were previously left loose.
When you have completed the replacement work, take the car out on the road and check that it is performing as you would expect at the top end of its capabilities. If you are still having trouble getting the engine to turn over or there seems to be a lack of power, then it may be worth ensuring that the timing is correctly configured in the engine with a professional mechanic.




.png)