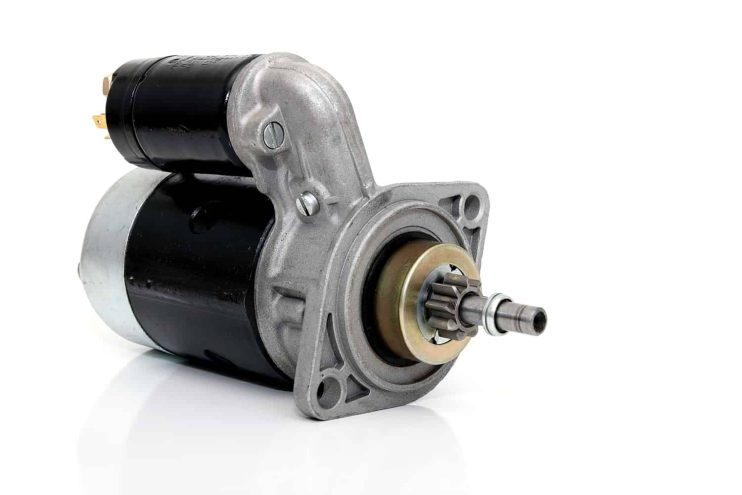
The obvious symptom of a failed starter motor is a car engine that simply fails on ignition. The other key indicators are that there’s a working power supply, which is indicated by working lights and radio and that the car will start with jump leads. If you’re suffering from this situation it’s definitely time to call up the parts shop or second hand supplier and look at replacing the starter motor.
One of the easier jobs on a modern car and suitable for the amateur mechanic, you will find installing a new starter motor into a vehicle a relatively easy task at the lower end of the skill spectrum. It does not require a great deal of technical knowledge and the only tools necessary to complete the job are a set of flare spanners and a socket and wrench set.
Step One: Isolate the Battery
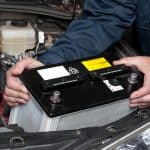
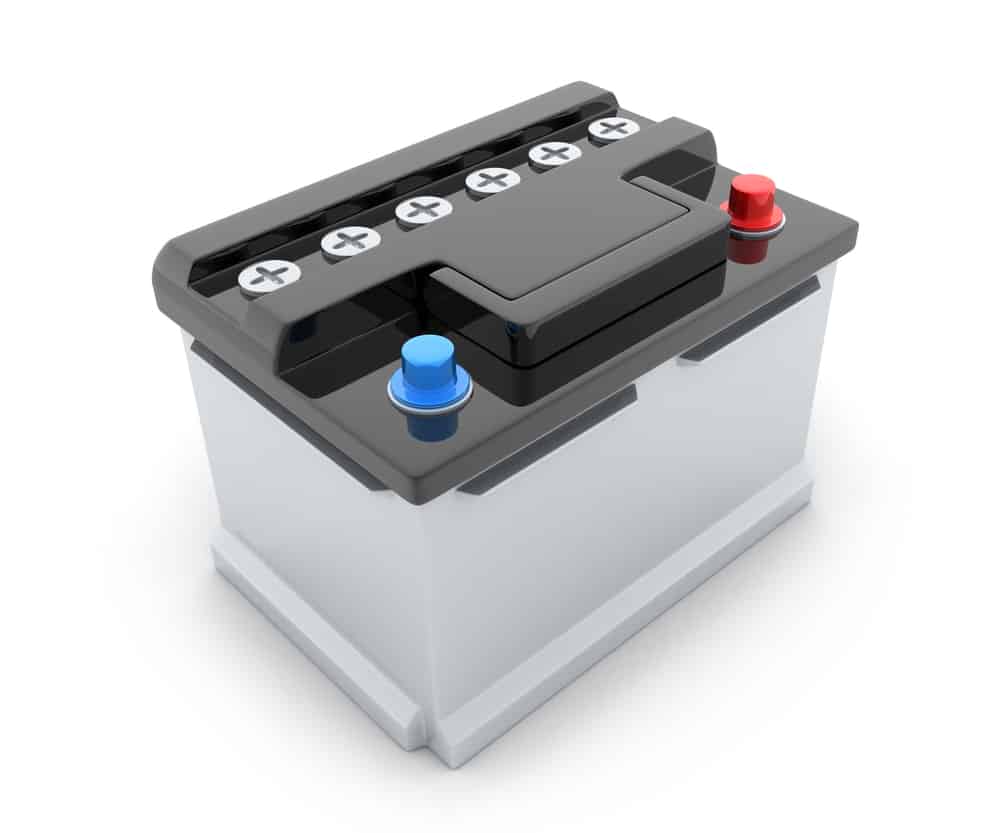
After you have set up the car and opened the bonnet, it’s a good idea to remove all wires from the battery before commencing on any work to avoid the danger presented by electric shock. Simply remove the wires from the terminals on the battery.
Step Two: Locate and Disconnect the Starter Motor
You should be able to find your starter motor located between the gearbox and the engine. Remove the wires at the top of the motor. Here you need you to use your socket wrench to unscrew the bolts that maintain these connections. Take care to mark these with chalk or to draw a diagram so you know how to reconnect them properly to the new starter motor.
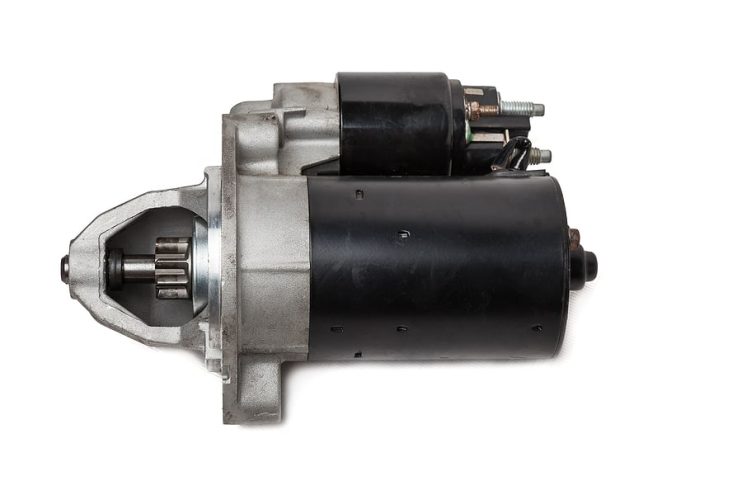
Step Three: Replace the Starter Motor
Now it’s time to unbolt the starter with a socket wrench before pulling it off by hand. Then carefully reattach the replacement starter motor and place the bolt back on the thread by hand before tightening it with your socket wrench.
Step Four: Attach the Connections
This is where marking the wires will pay off, as you have to reattach these to the starter motor. You’ll need to unscrew the bolts off the new part and remake the connections. Then place the bolts back on to complete the process for both the positive and negative terminals. Finally reattach the battery cables and you’ve almost finished.
Step Five: Start the Car
The final step in the entire procedure is to try getting the car to start. You will quickly know whether you have succeeded or failed in replacing the part. However, if the car does not start the first thing to do is check all the connections first to ensure that the power is properly supplied to the part, before assuming that the new part is problematic.
Also it is worth noting that starter motor types are often upgraded. This means that there is little point in comparing your new starter motor to the old one removed from the car to check it is the same. If you are in doubt as to whether you have received the right part from your dealer, then we would advise a simple check on one of the web’s many engineering forums.



.png)